Water Works
My wife and I are converting a delivery van into a motorhome in the following three phases:
Lining and insulationFurniture and beddingGas, water andelectrical
This post deals with the water plumbing.
If you just want to look at pictures, here is a running project photo journal with the most recent photos at the top.
Costs
The water kit alone cost around £800. This includes tanks, gauges, pump, mounting hardware, etc., but excludes appliances.
Tanks
The tanks were manufactured by Shaun Barratt from Barratt Tanks using our custom design. In the previous write-up about LPG, I mentioned how we used the space where the spare wheel used to live for the LPG tank. The remaining space was allocated to the fresh water tank, while the waste water tank was wedged into the little space on the O/S between the AdBlue tank and the bit housing the laminated rear suspension spring.
The dimensions for the tanks were:
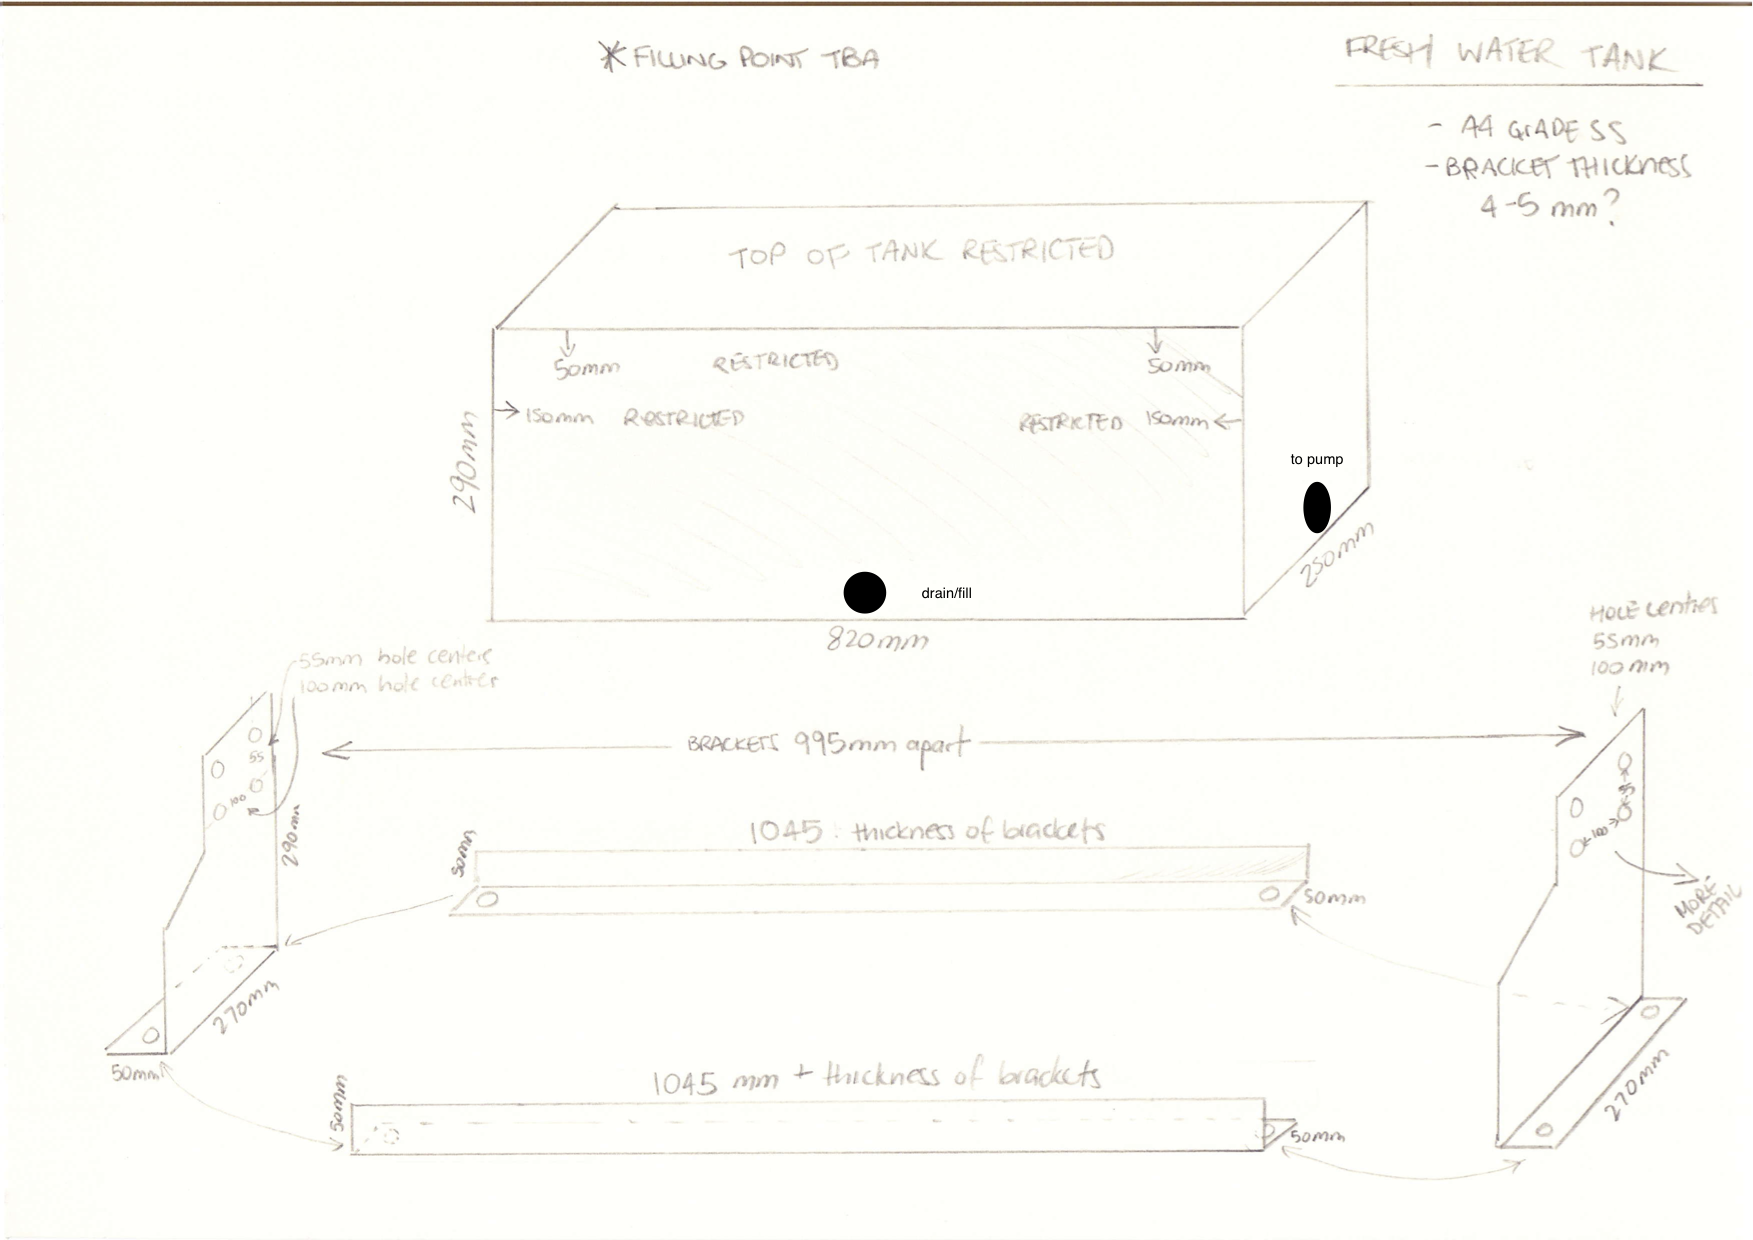
- Fresh: 820mm (L) x 250mm (W) x 290mm (H) approx. 57 liters
- Waste: 405mm (L) x 275mm (W) x 265mm (H) approx. 27 liters
My original design for tanks and brackets in PDF format over five pages, showing bracket over-engineering.
I changed the final brackets design, simplifying it and making it significantly cheaper. The original plan was to use a lot of stainless steel angle and bolts to manufacture seats for both tanks, but I ended up just using stainless steel marine hardware, some hook & eye turnbuckle tensioners and stainless steel banding.
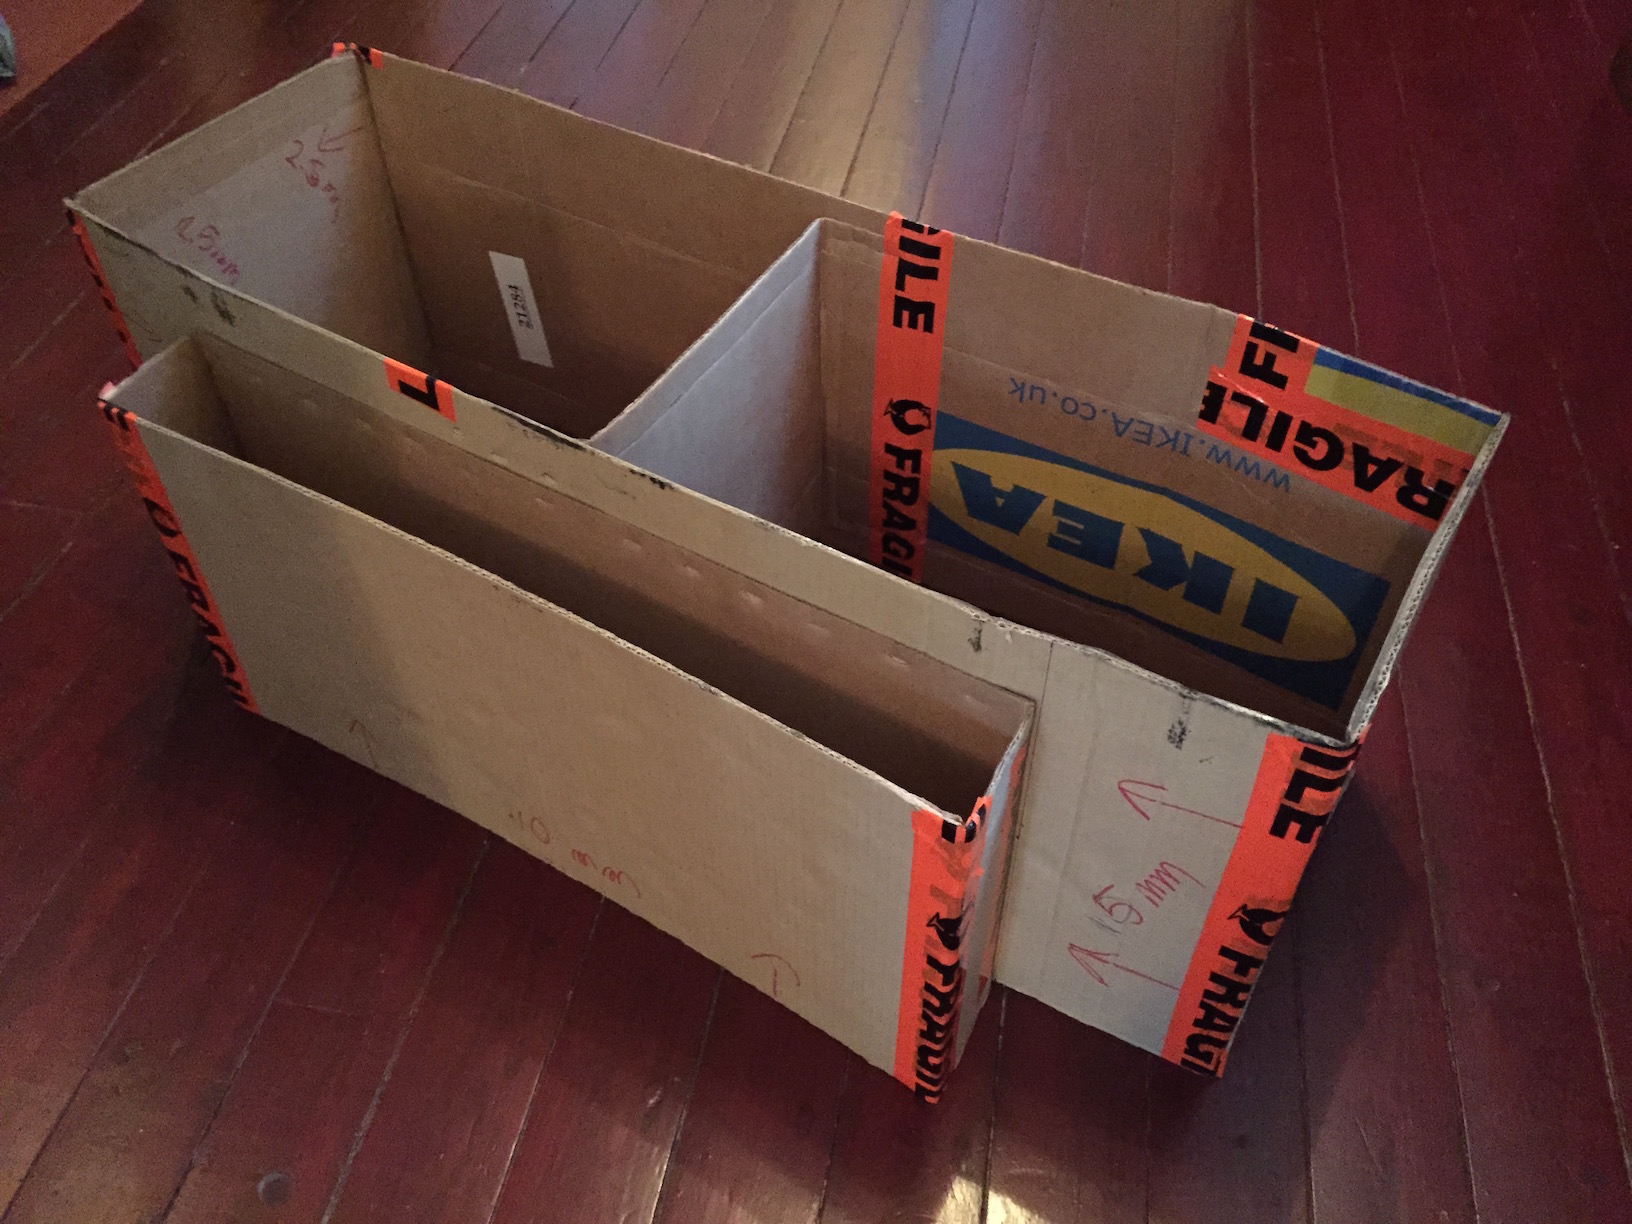
Prior to ordering the tanks, my wife made some cardboard mock-ups of the tanks, so we could see if they would fit in the spaces. This proved to be a useful step, because I swapped a five for an eight in one of the measurements and, as it turns out, it is a lot cheaper to cut cardboard, that it is to trim a plastic welded tank.
The smaller waste waster tank mock-up, with a gap for the chassis member.

The old fresh water tank design, with the additional extension bit on the side. We decided to forgo this in the end, which ended up being a good decision, as it made strapping the tank easier.
The tanks arrived, complete with level probes, heater elements, hoses and inlet and outlet taps.

Insulation
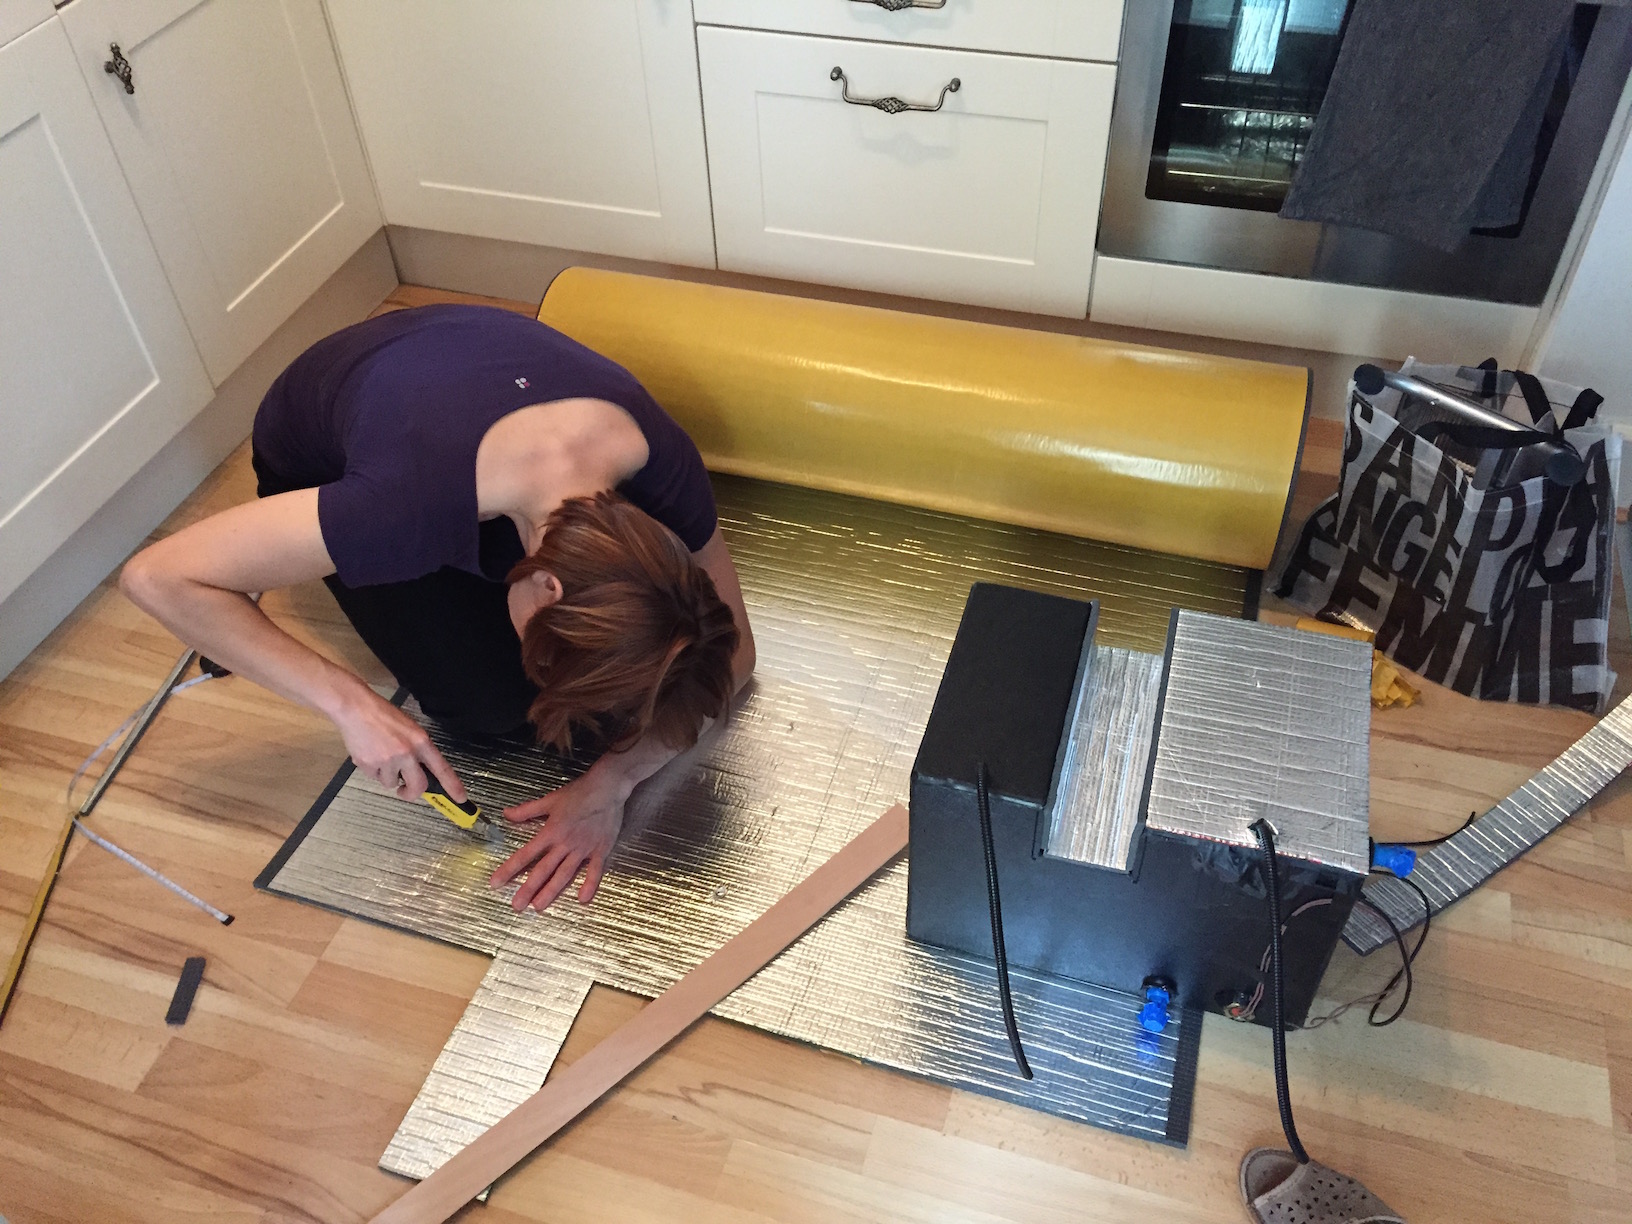
We had quite a bit of the Thermoliner insulation left over, so we covered the tanks with a layer of it and sealed the corners with self-adhesive aluminium tape.
The tanks came with breather holes pre-drilled in the top, into which I've adapted some fittings to provide breathing and over-fill drainage.


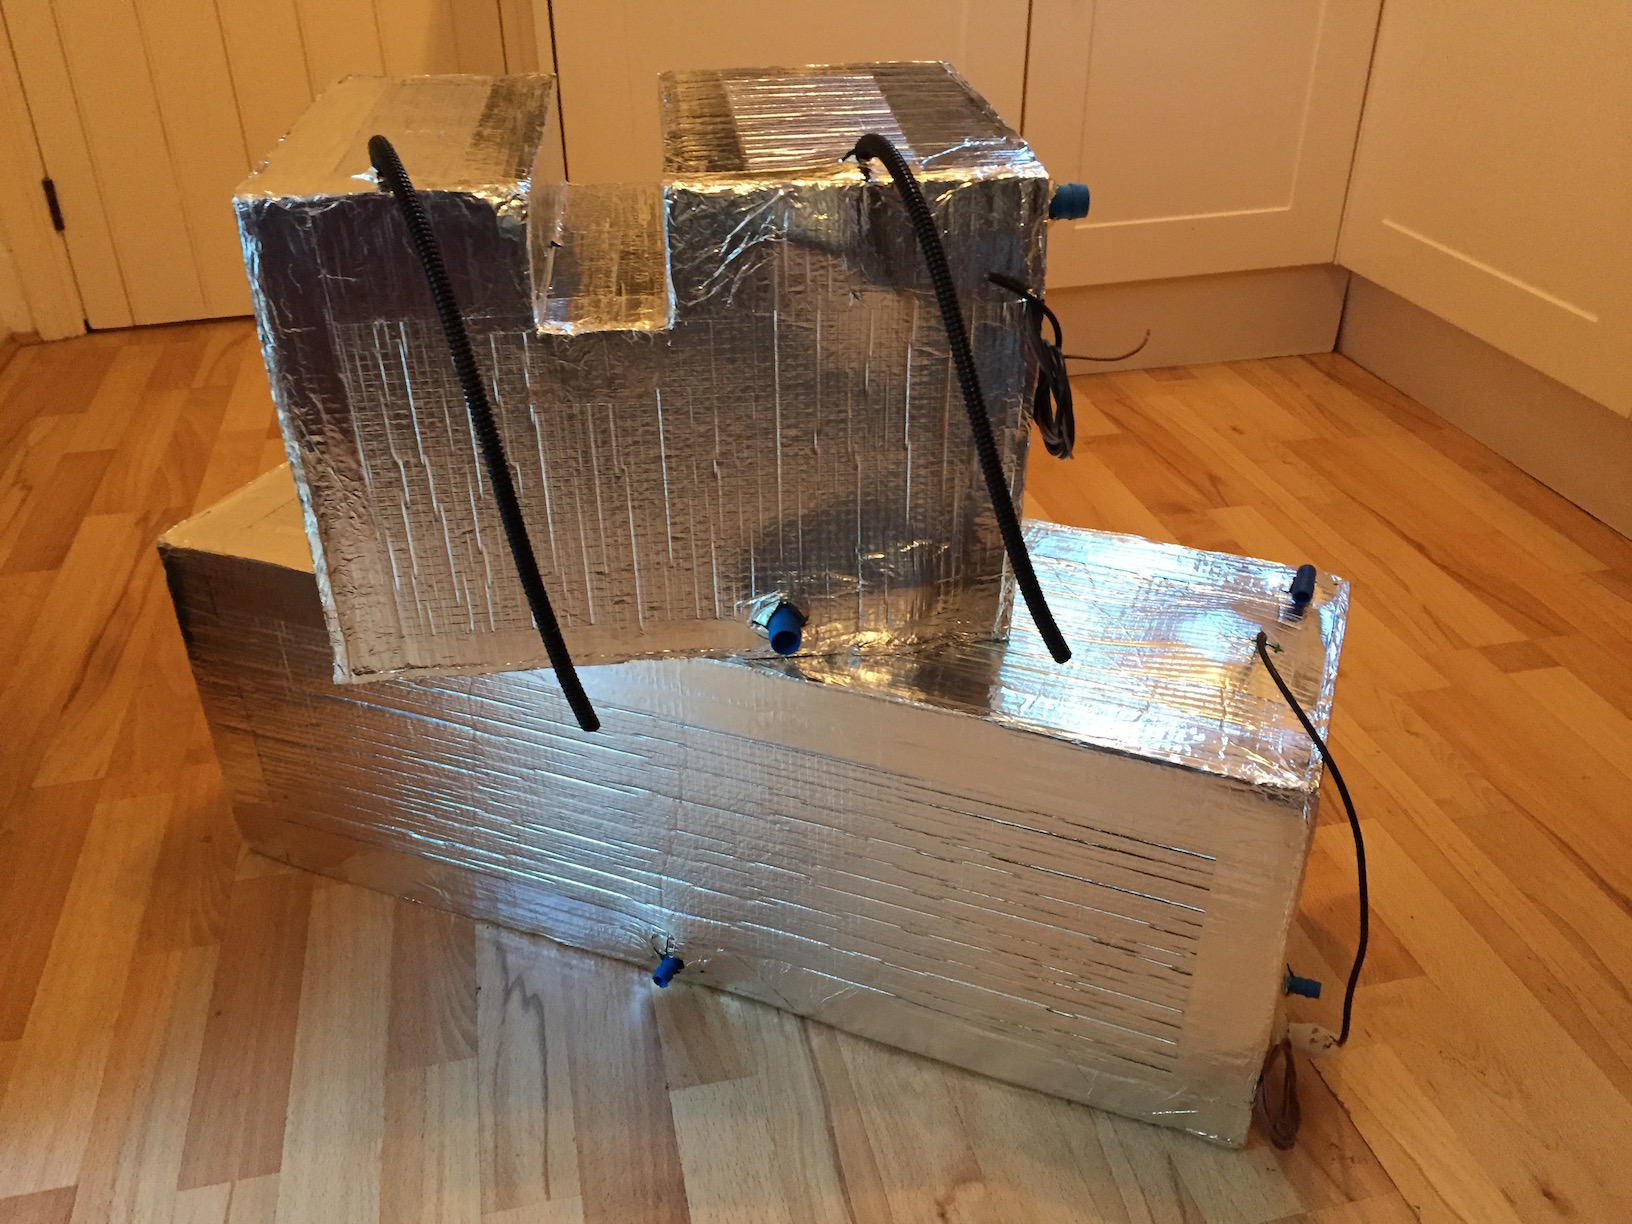
Finally, we wrapped the thanks with self-adhesive vinyl to help cover the cables and prevent the rear tank from blinding drivers unfortunate enough to be behind us.
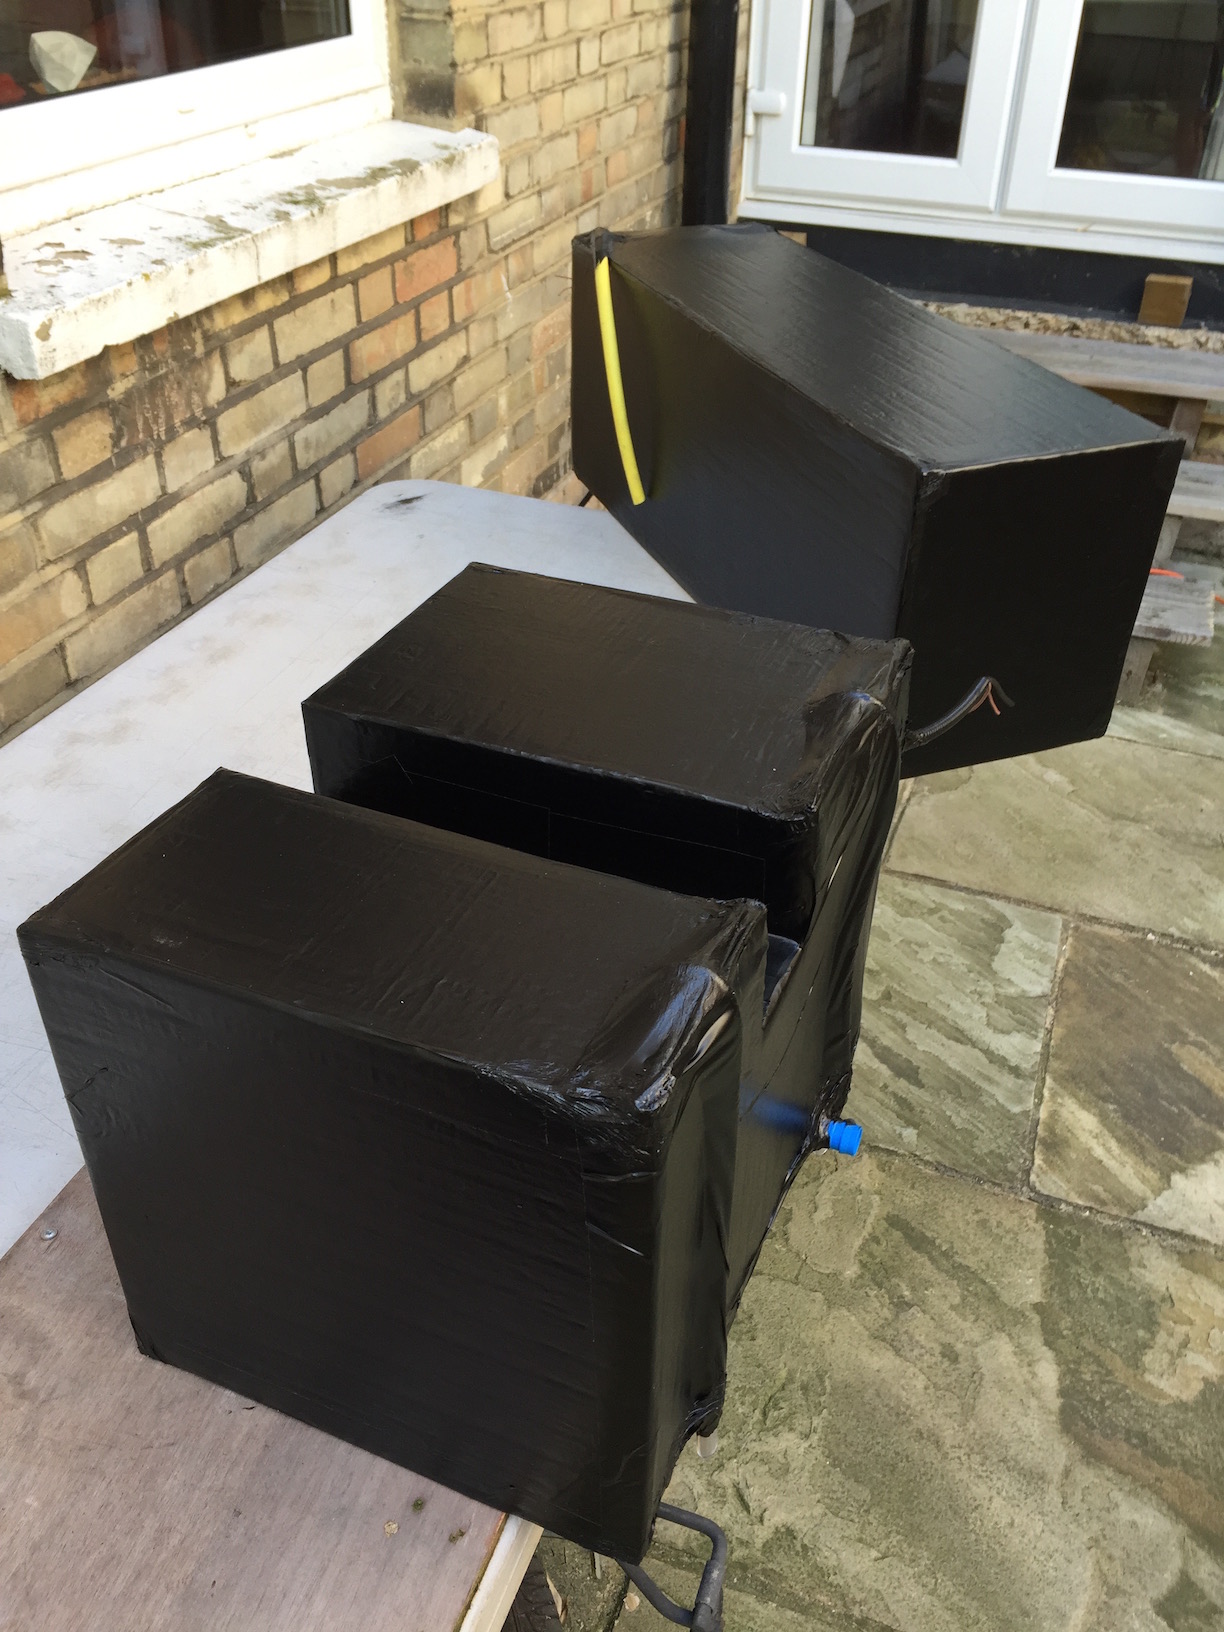
I also routed the electrical cables into corrugated conduits and drowned all the gaps with black Sikaflex to step water from getting in there. Although I am pretty sure it will anyway..
Strapping
For strapping the tanks under the van, I've used the following bits:
4mmmarine stainless steel quick-links5mmmarine stainless steel pad-eye/4 hole plate30mm x 35mm5mmwide marine stainless steel D-shackle inside dimensions25mm x 23mm- M4 stainless steel (304) hook & eye turnbuckle tensioners
Timco Classic C-1022steel stitching screws20mmwideSabrefixstainless steel builders bandM4 x 16mmsocket cap A2 stainless steel bolts
The marine grade components all came from Seacrew, while the rest came from Screwfix and/or Toolstation.
I made the stainless steel straps, by bending the strap around the wide D-shackles and joining the ends together with 2-4 M4 x 16mm socket cap bolts, with spring washers and Nyloc nuts.

I note, that places like C.A.K Tanks, for example, sell complete tank strap kits, but as far as I could tell, they require drilling through the van floor to install and since our floor is already bolted down, this wasn't an option for us.
The four hole/pad-eye plates were basically bolted just under the sides of the van using four Timco screws.

There are two straps per tank, so hopefully the tank won't fall off anytime soon. I guess if they do, I could aways add another couple..
Fresh Water
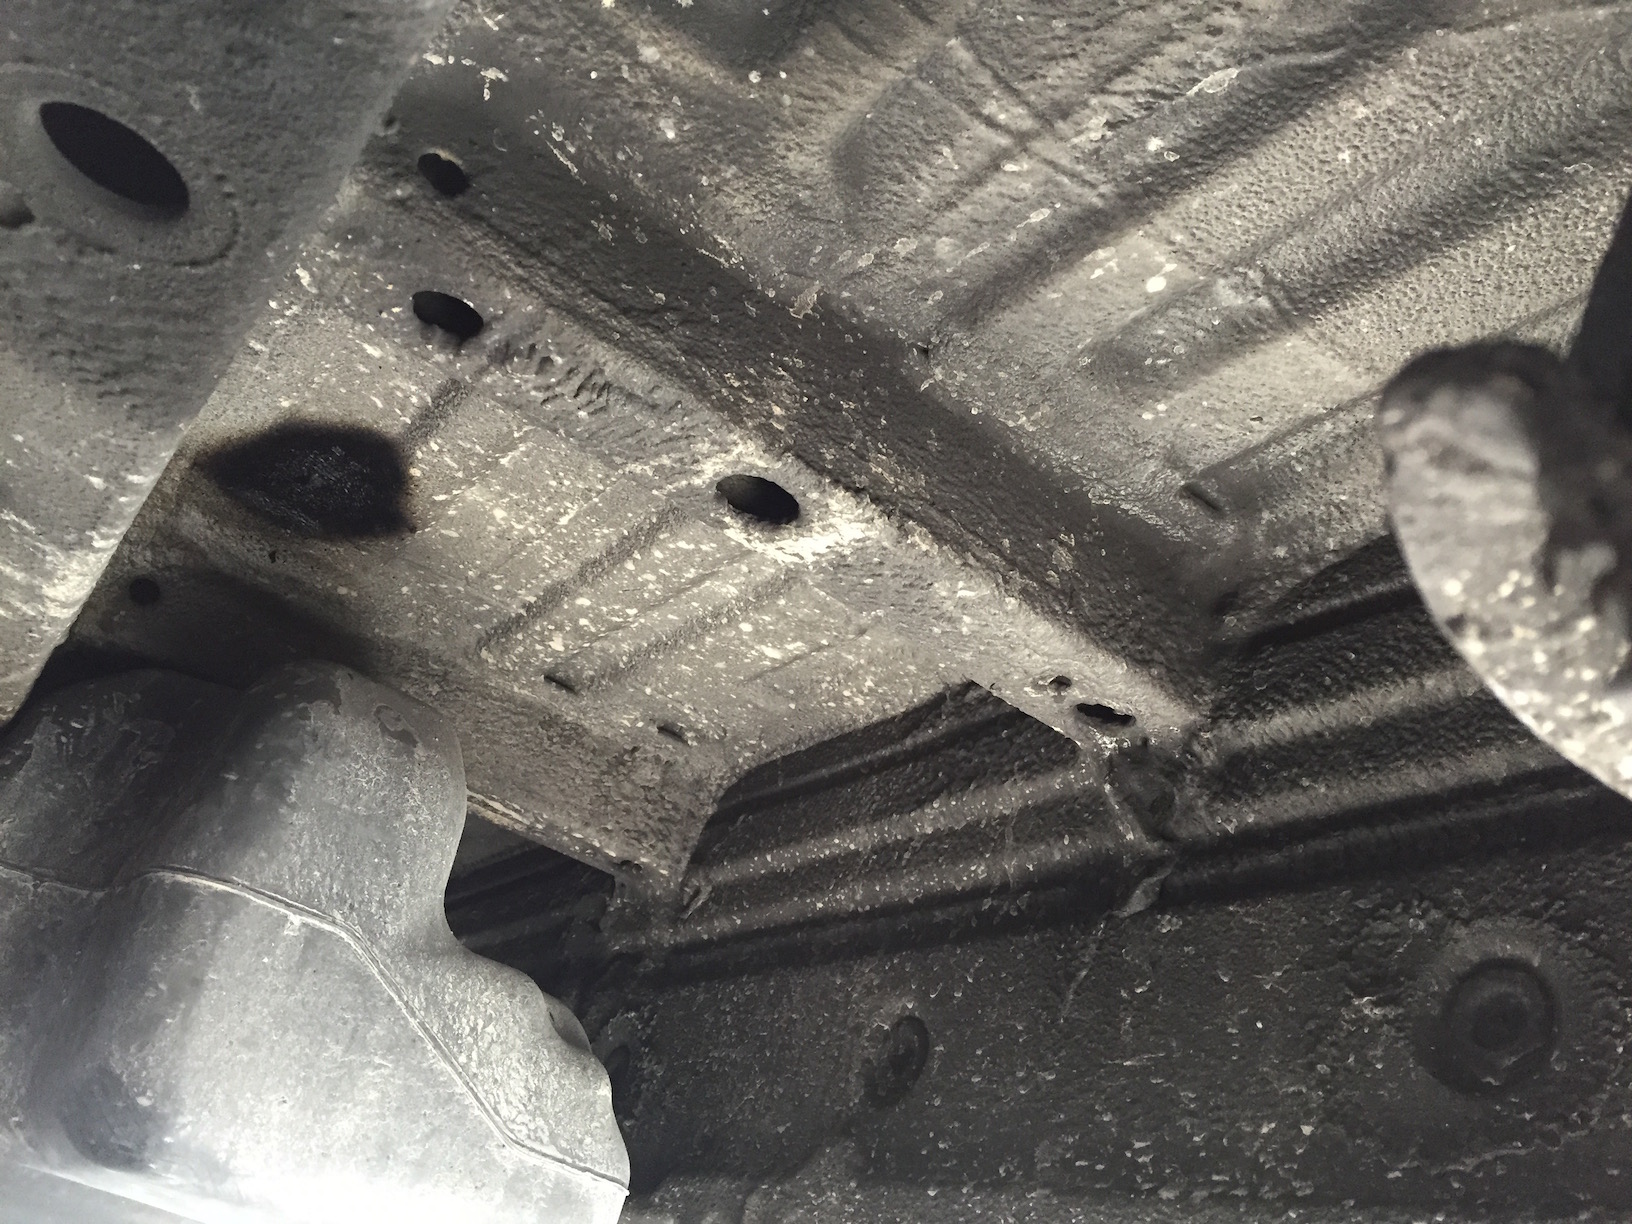
With both tanks ready to go, I find myself back under the van - a moderately unpleasant process allowing one to become intimately familiar with the road texture. This time though, I hosed and brushed the underside as much as possible, to make the job just a little bit less filthy..
This is the original fresh water tank design, with the lower section showing the original bracket design.
And this is the end result, strapped in to the underside, just behind the bumper and in front off the LPG tank. I used some left over aluminium checker plate angle for the straps to wrap around.

I used a couple of 12mm quick-fit elbows to bend the hose around 180 degrees behind the fill/drain tap.

The strap hooks onto the hook part on the tensioner and the tensioner is tightened.

The fresh water is fed to the pump inside using a 12mm semi-rigid pipe, which I fed into the van by cutting another hole, stuffing a grommet in there as best as I could and draining the remainder in black Sikaflex.
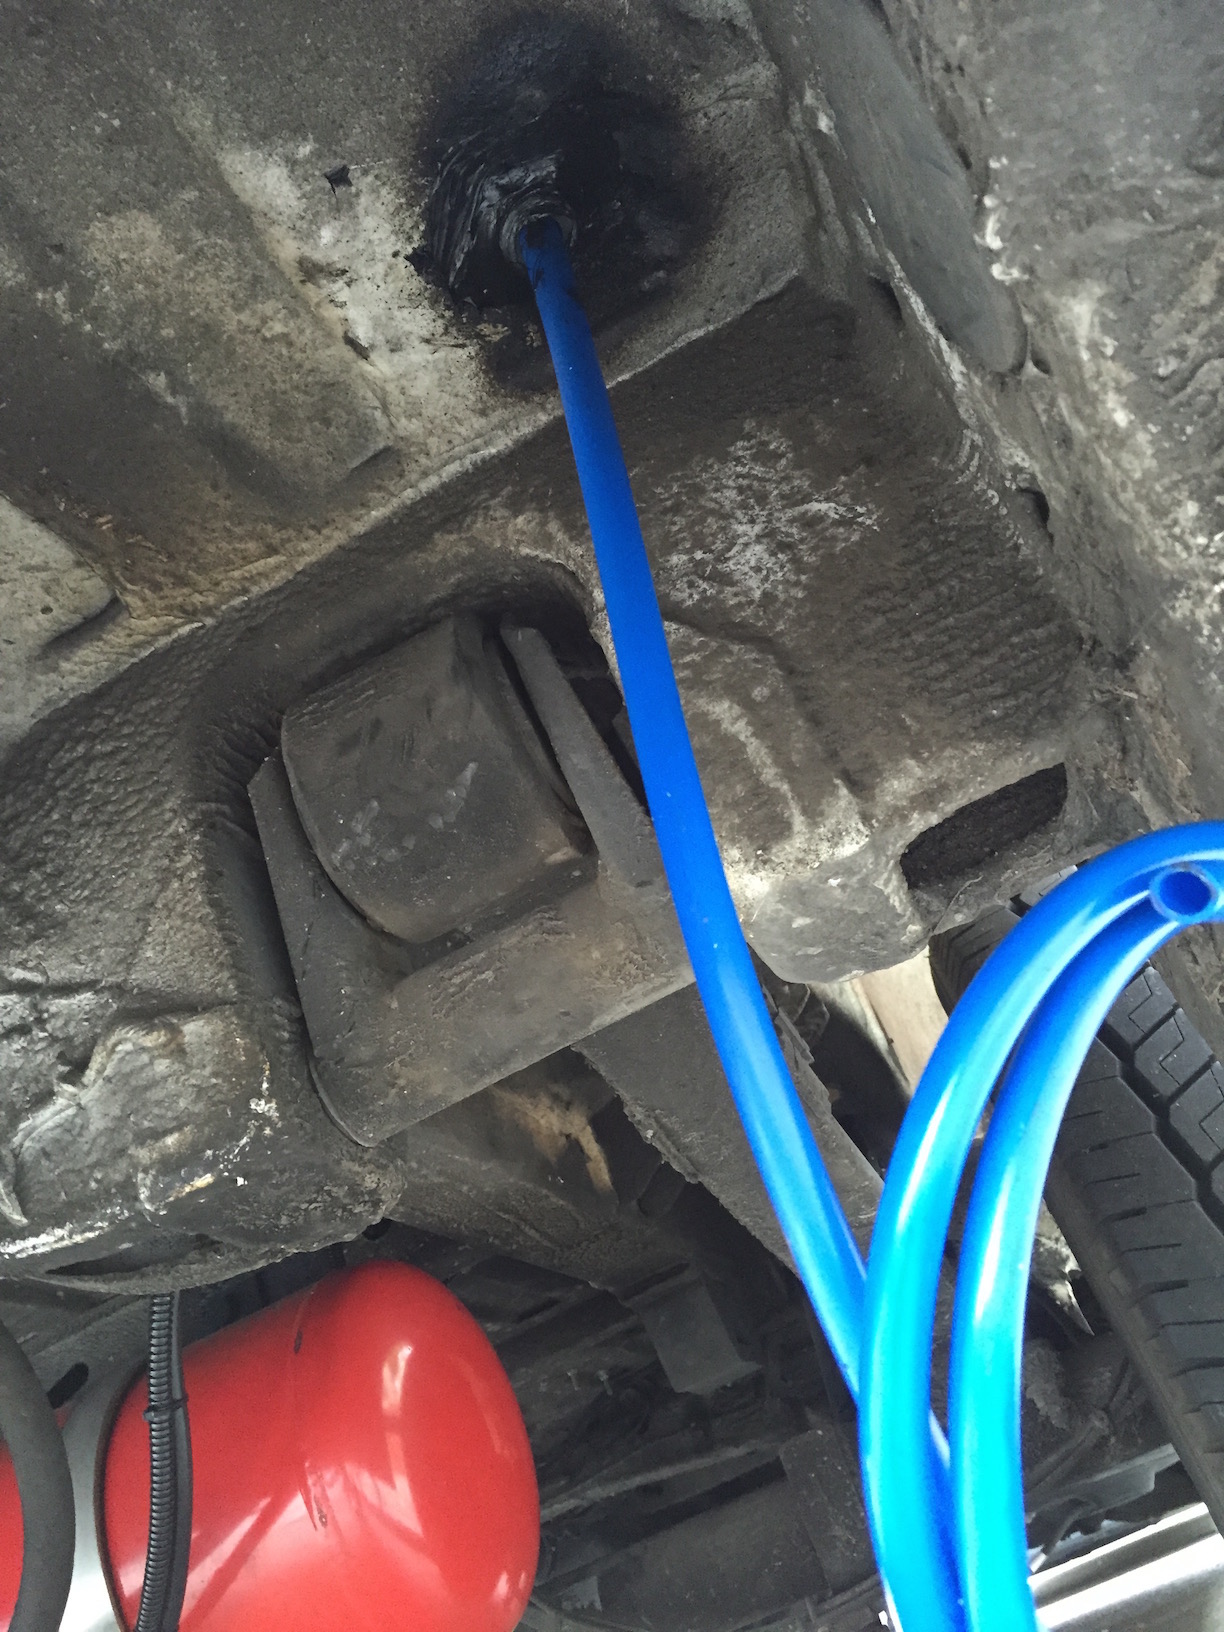
I've insulated the inlet water pipe (to pump) with 15mm pipe lagging and covered it in some scaffolding foam I found by the road side. I've also connected all the cables using crimps, terminated the defroster negative connection to the chassis and sealed all the conduits with black Sikaflex.

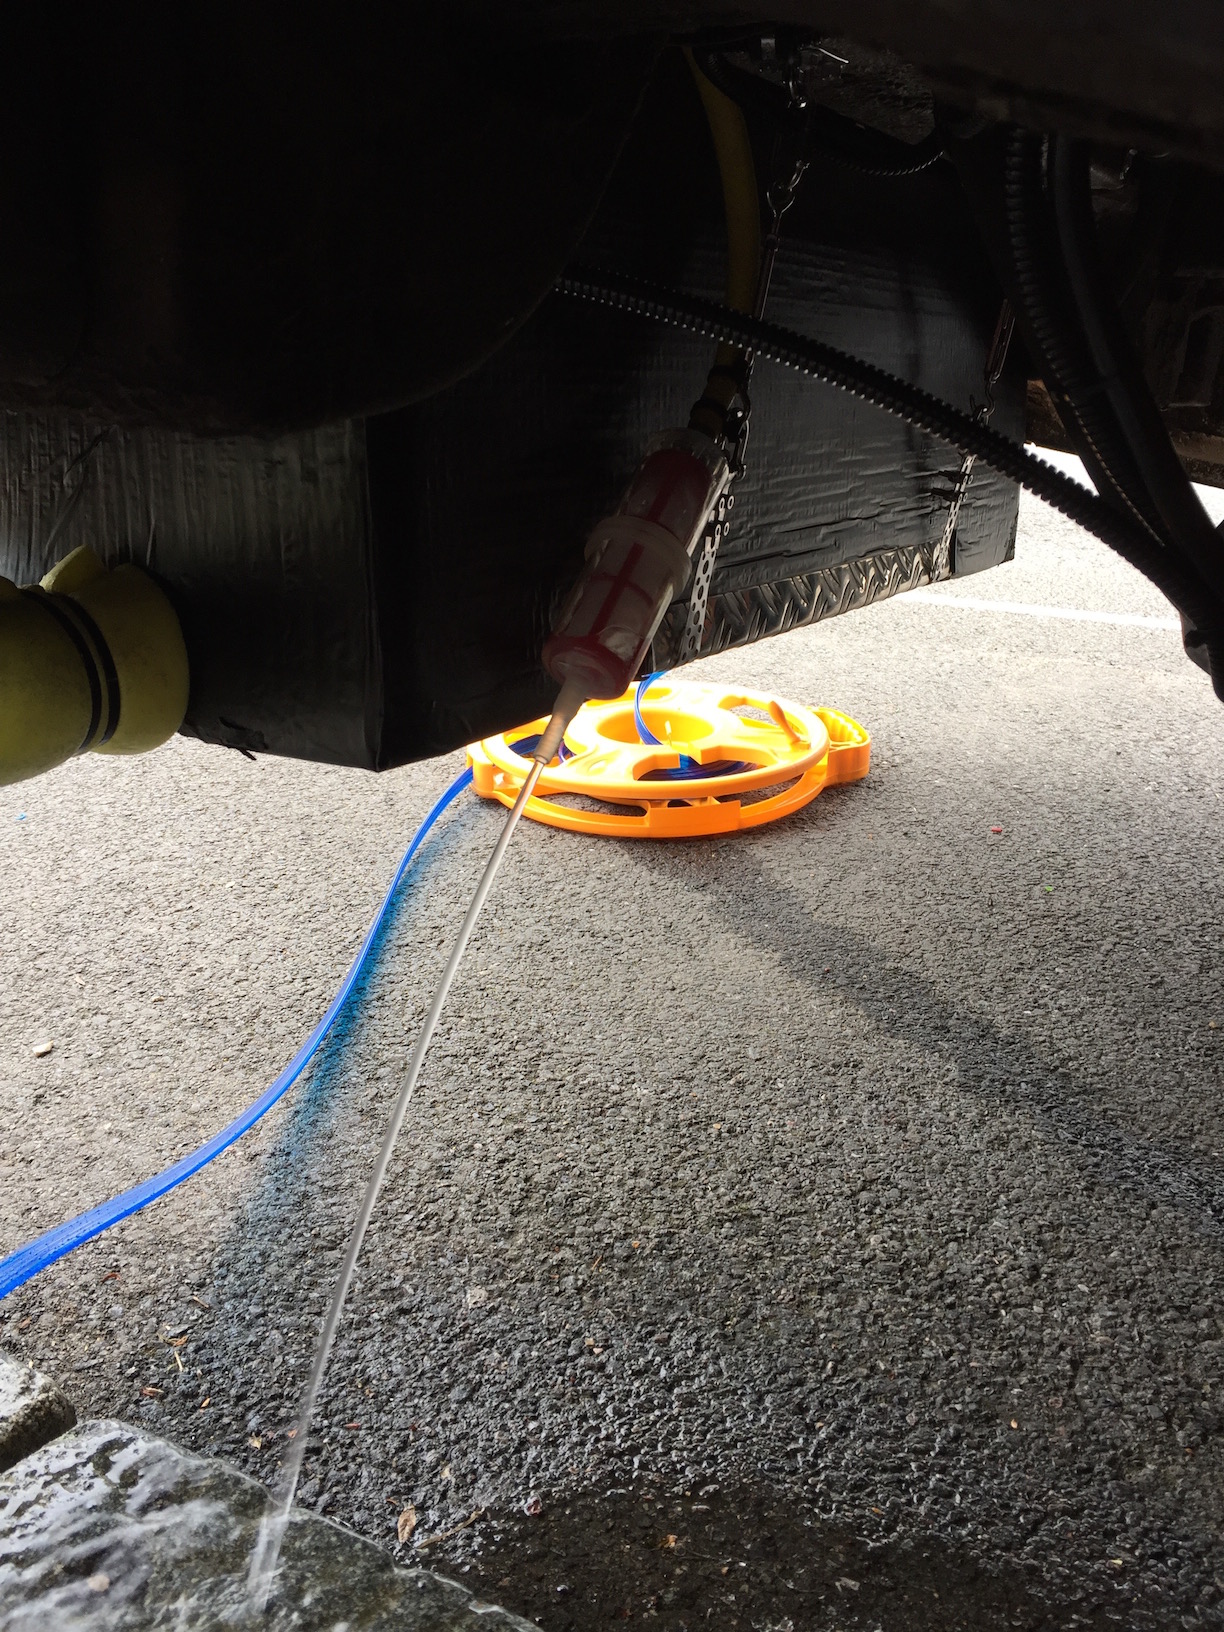
I put a small in-line diesel filter (from eBay) on to the breather hose end, to stop various small living things and debris from getting inside the tank (I must admit, the filter looked smaller in the photo).

This is what happens when the tank is full..
Update: on advice from
Barratt Tanks, I've dropped the filter and added a second breather hose by first cutting1/2" BSPthreads on each corner and adding nylon barbed elbow connections.


After the modification, when the tank is filled, the water stops overflowing from the breather holes as soon as the tap is turned off, as opposed to previously, when it continued to run for about 20 seconds due to the pressure building up inside the tank.

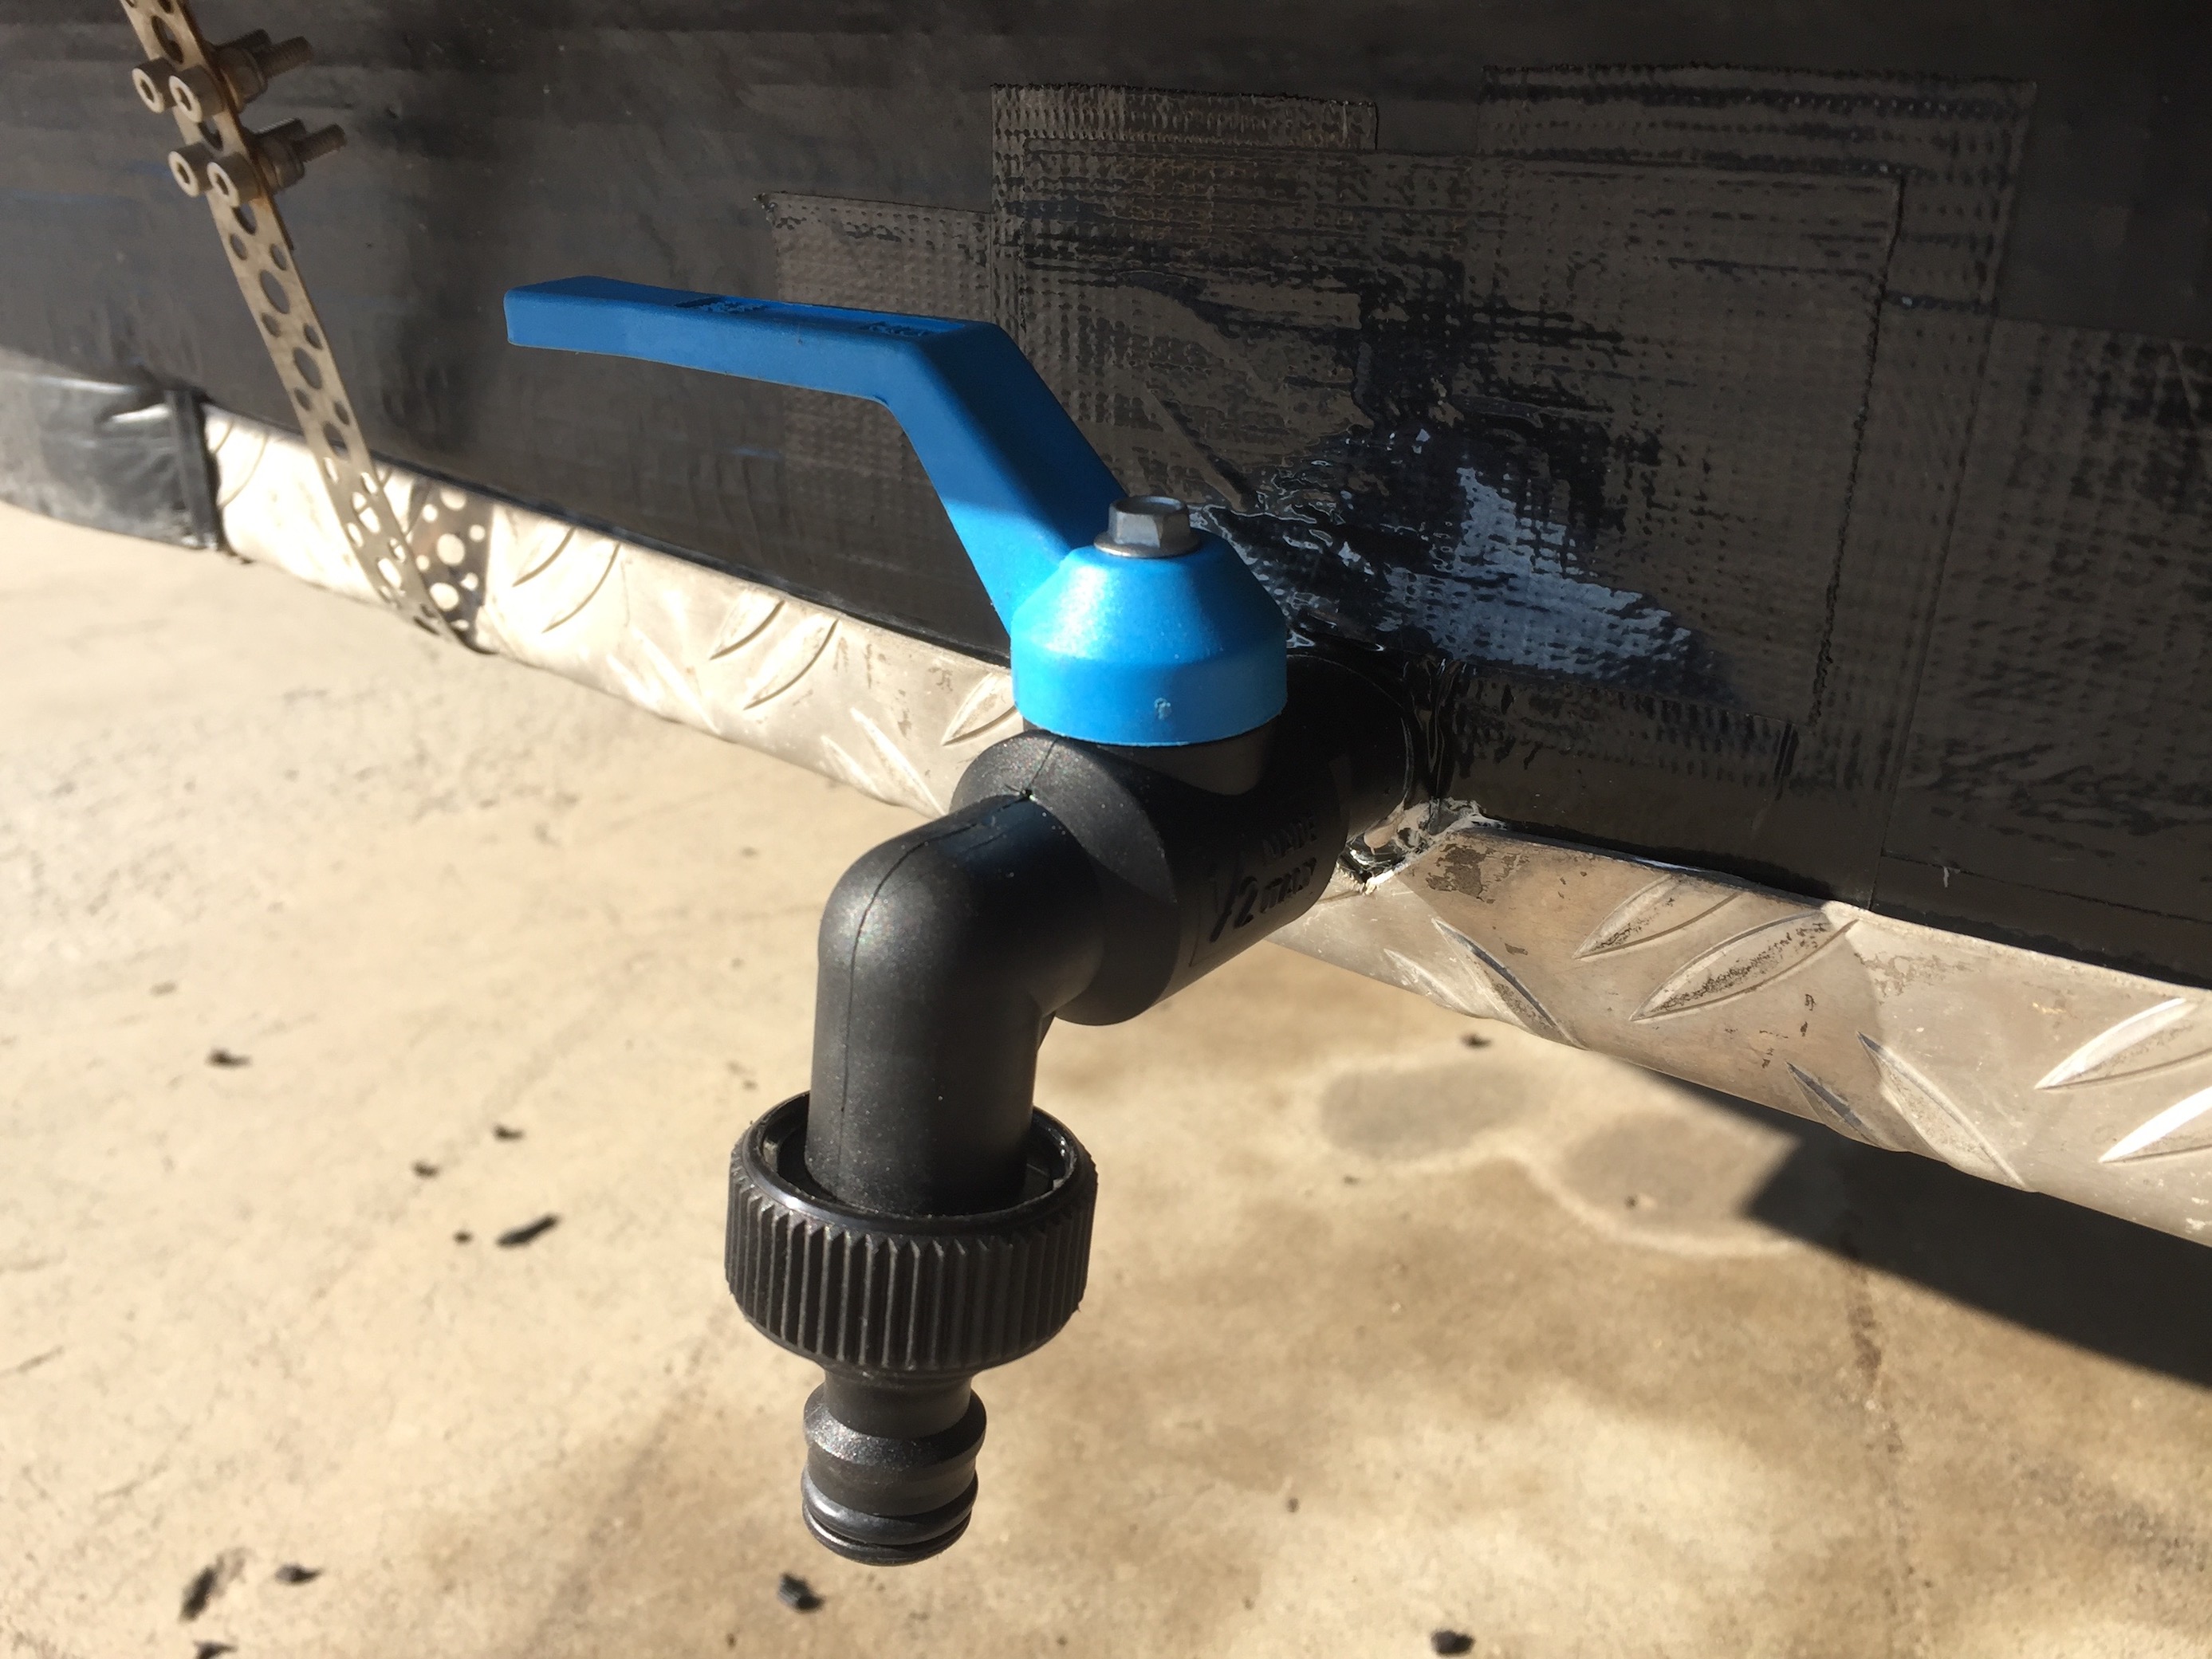
UPDATE 2017/01: while celebrating New Year in the mountains of Catalonia, the temperature dropped to -8C and the fill hose assemble basically froze, cracked and fell off over night. To simplify the design, I bought afrost resistanttap from Leroy Merlin and screwed it directly onto the tank instead.
The supplied tap was attached to the lip just under bumper with supplied M6 bolts.
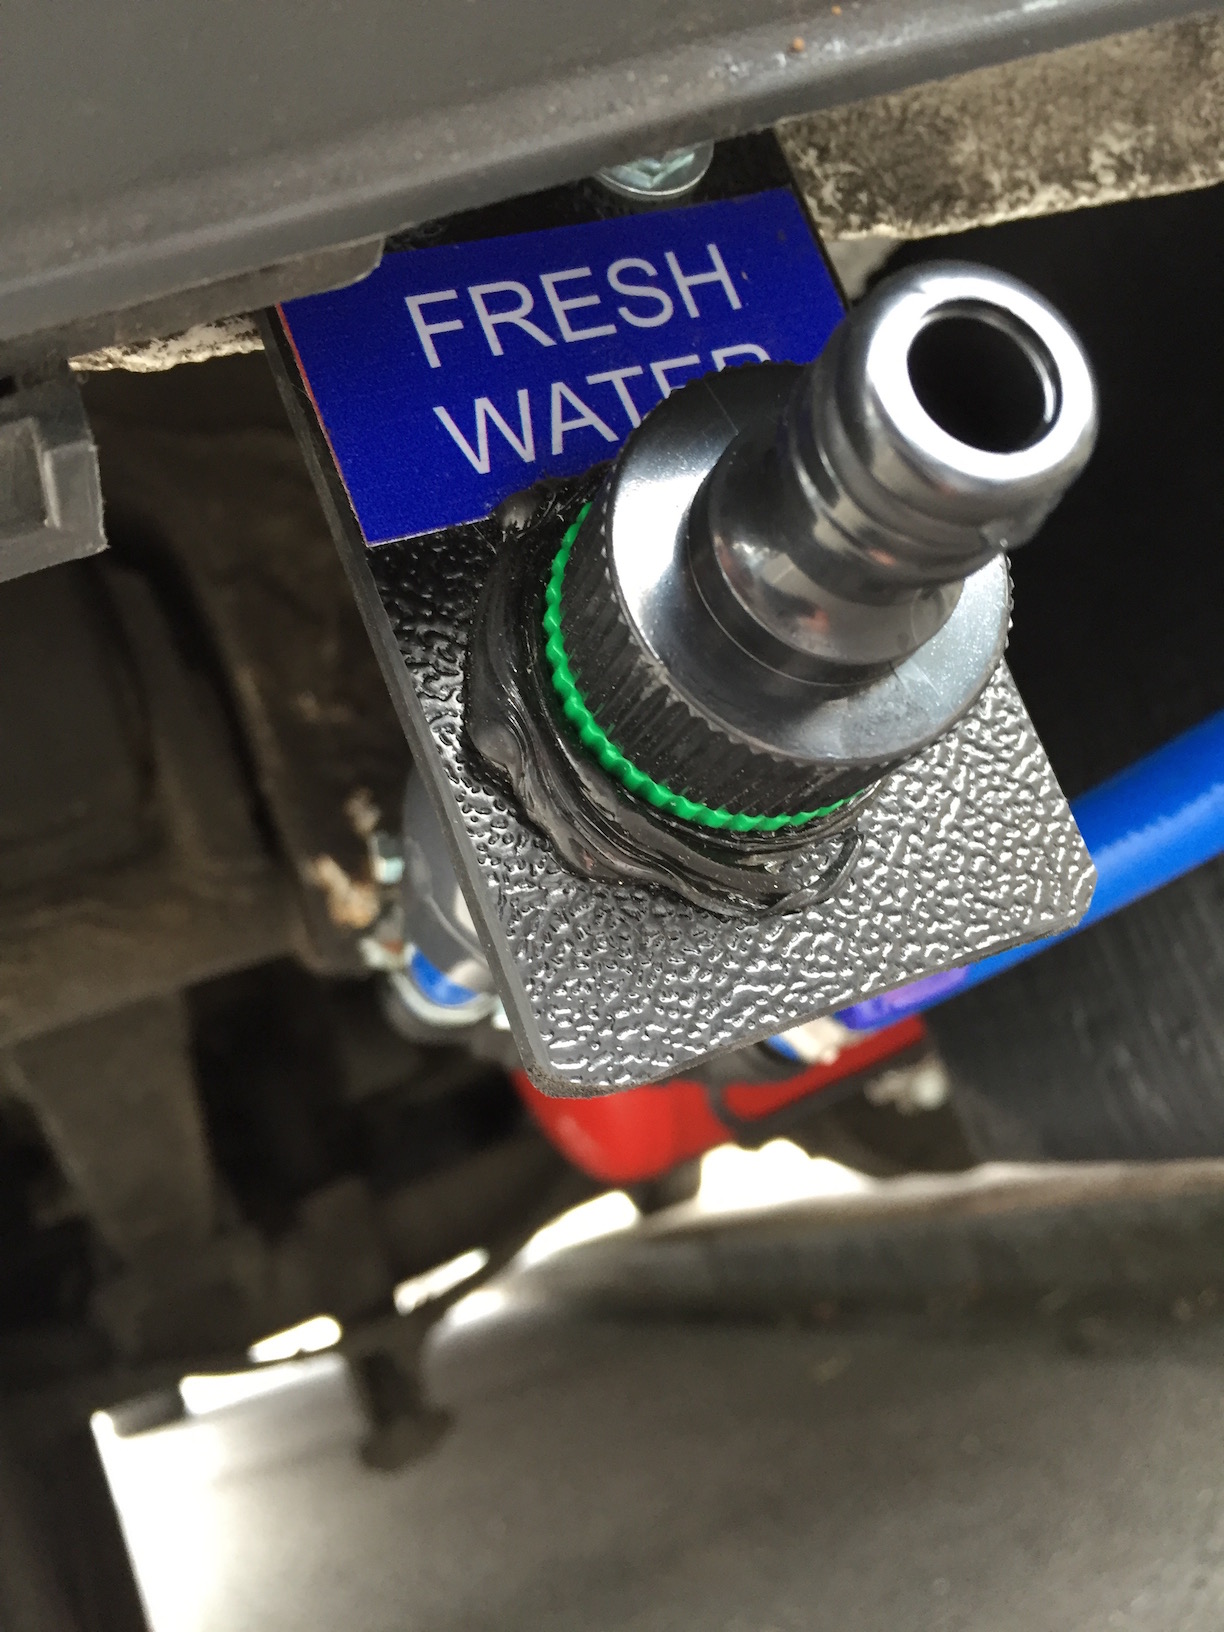
The tap sits a bit above the tank connector, making it impossible to fully drain the tank. If full draining is required, I could just disconnect the hose clamp at the tank and temporarily unplug the hose. I don't envisage this becoming a major problem, but you never know..
I bought a Brunner flat hose from Leisure Shop Direct and I think it was the right choice. It is easy to unwind and when wound back up, it doesn't appear to leak (much).
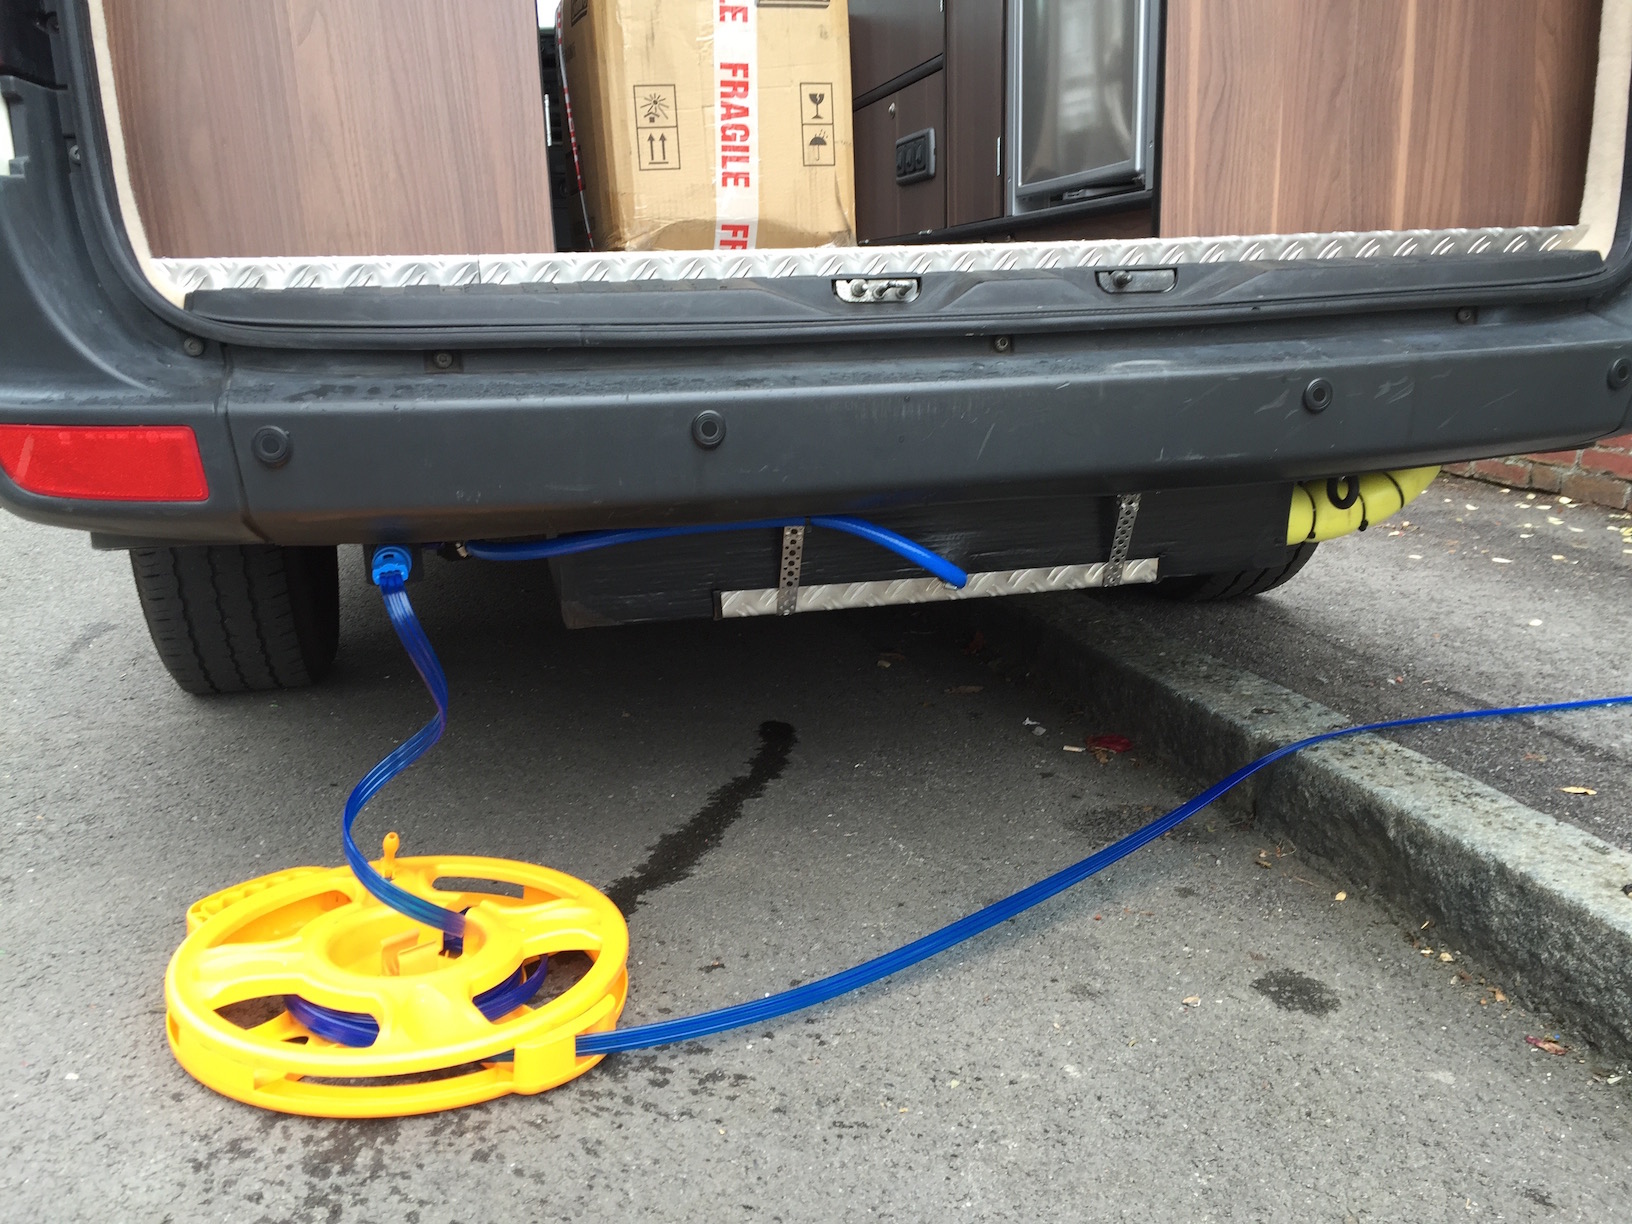
At the time of writing, the tank has not fallen off.
Let's hope it stays there..
Waste Water
The original wast water tank design can be seen below.
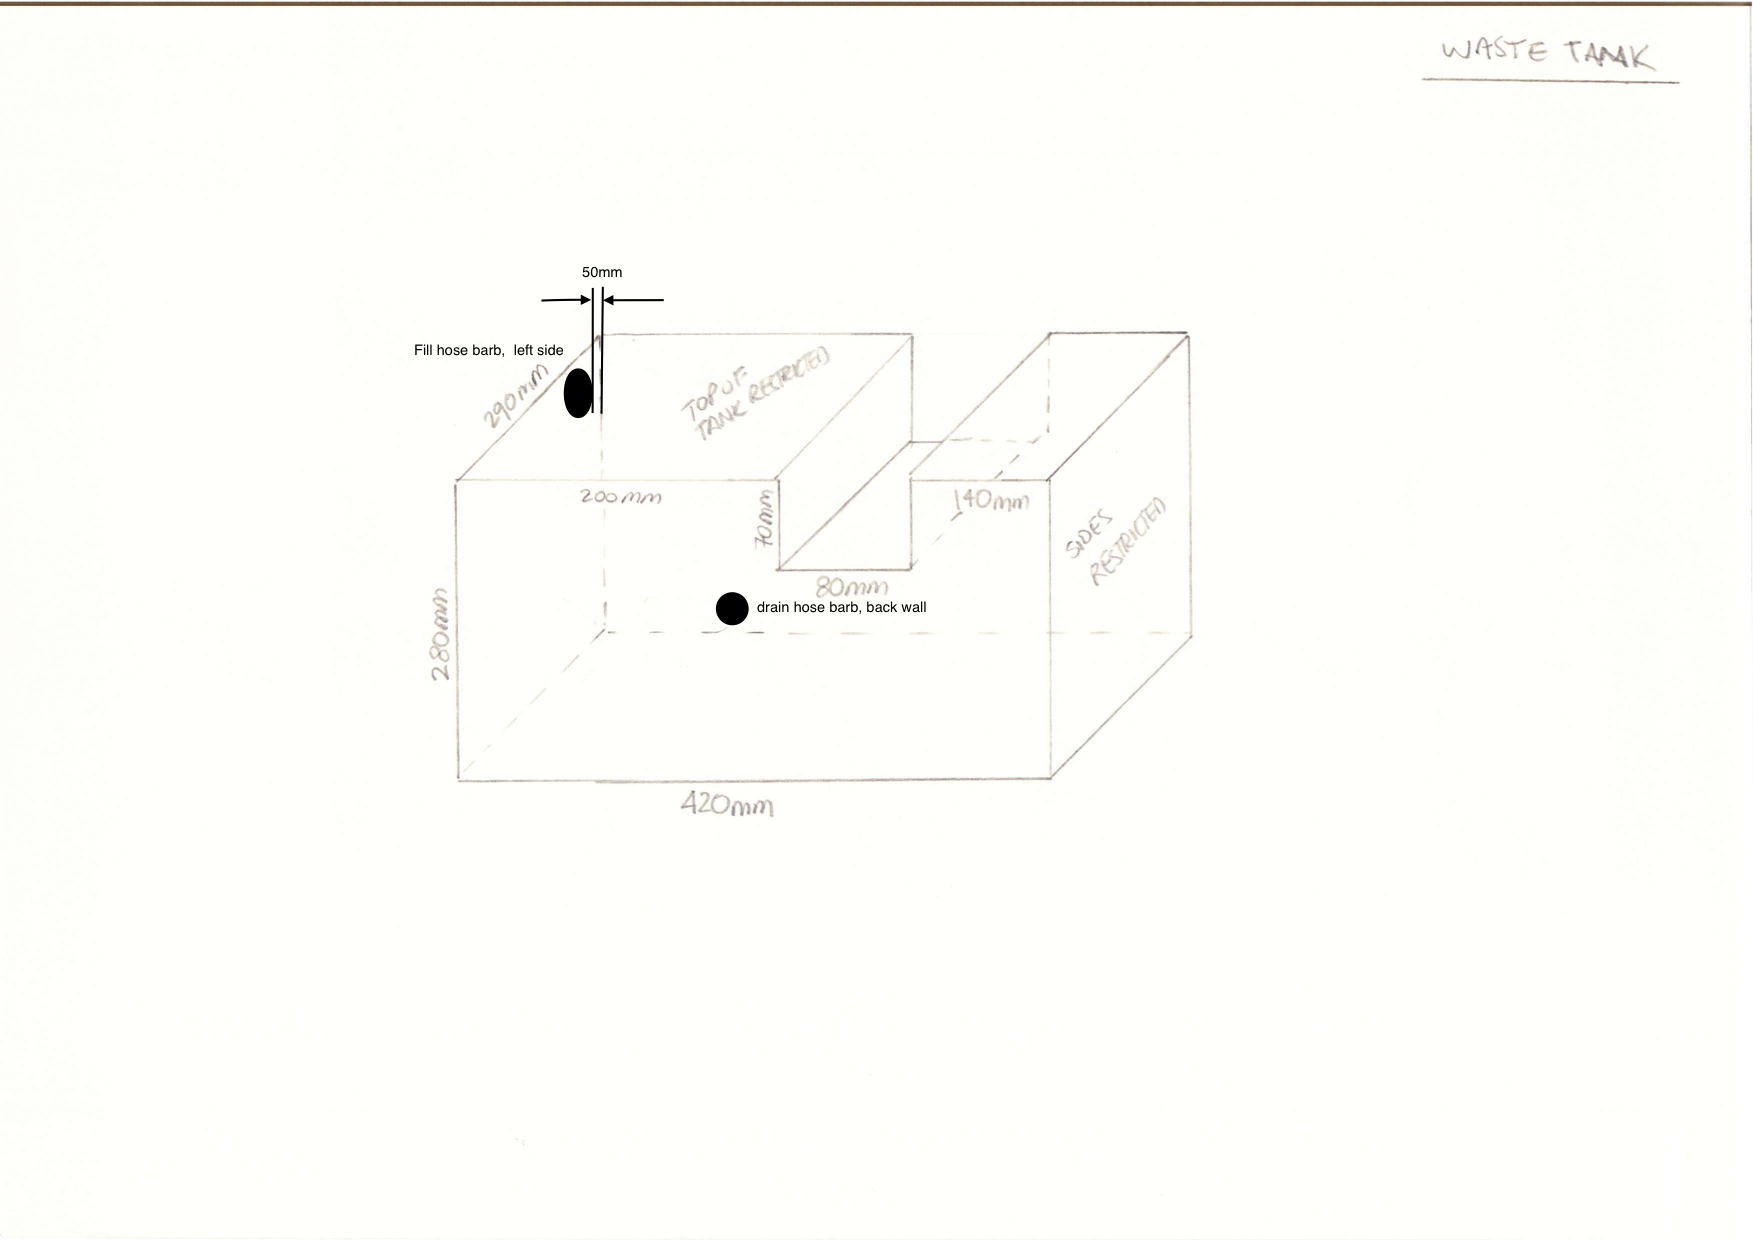
And this is what it looks like fitted..
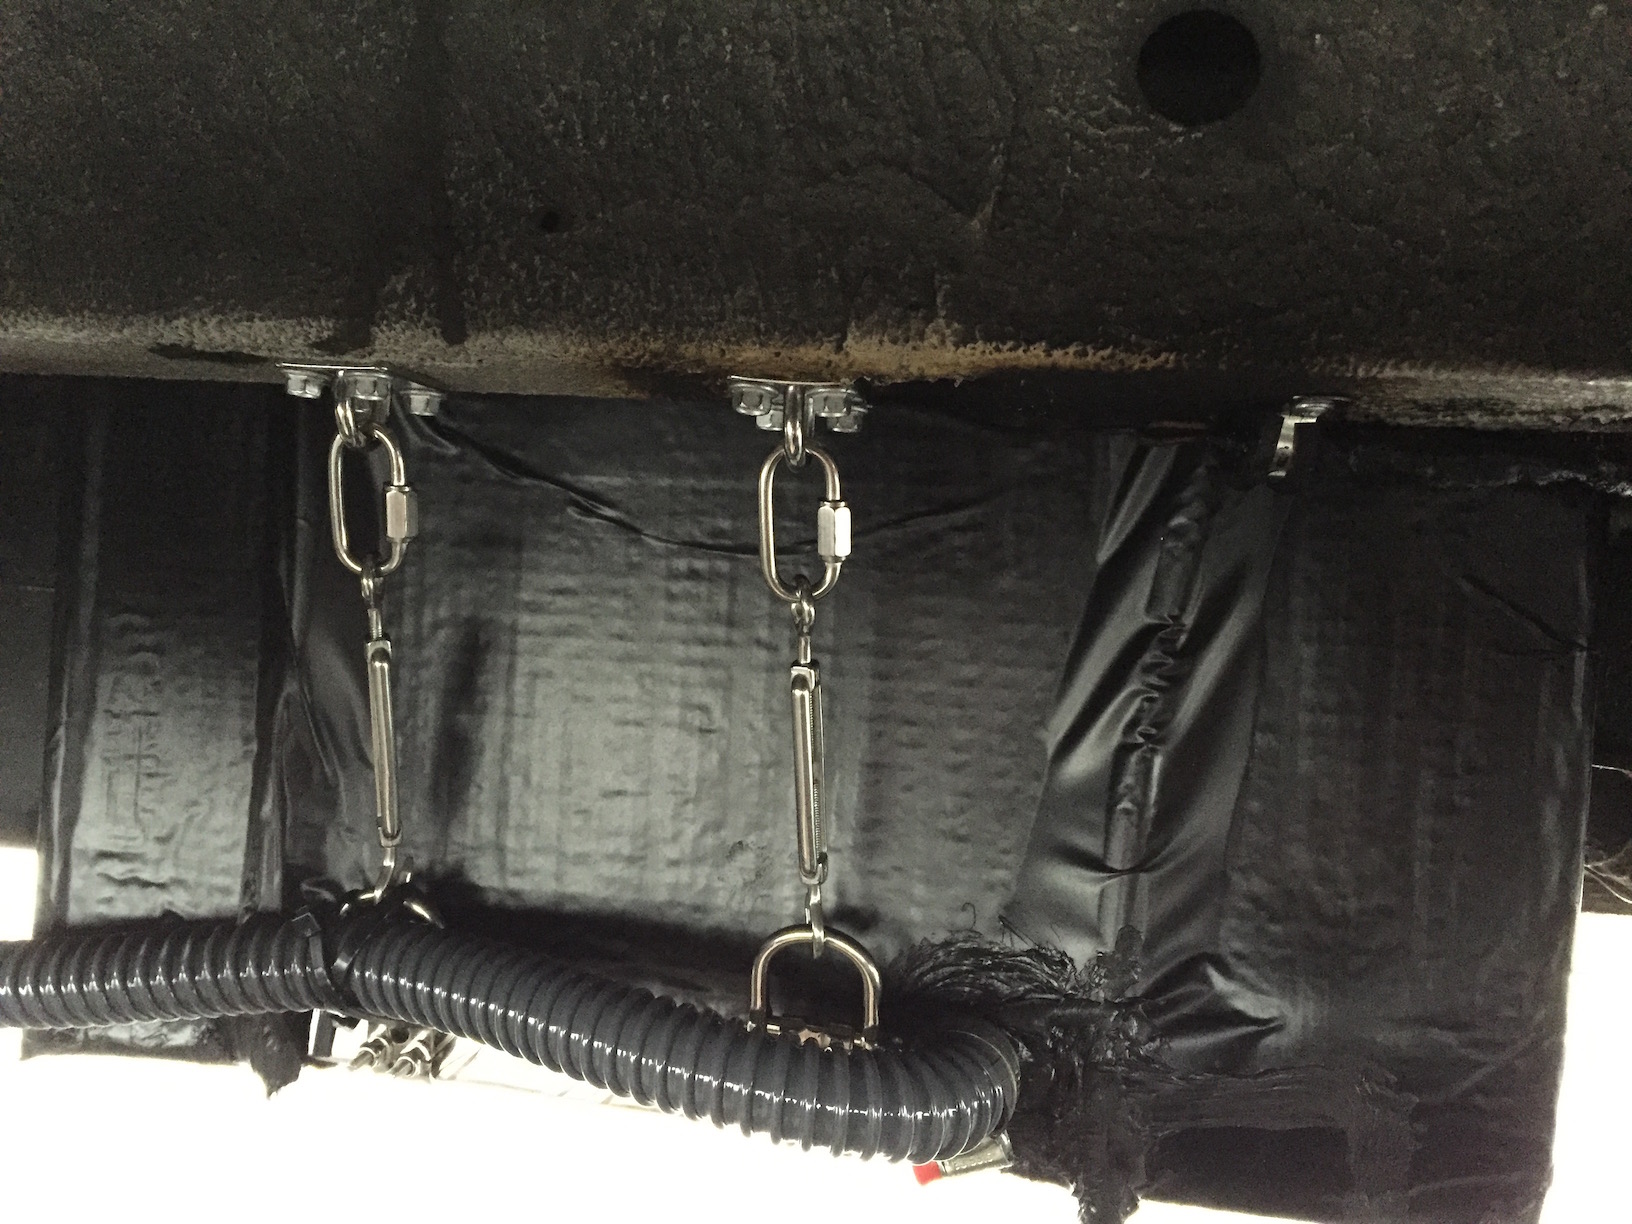
The drain hose was routed around the tank to the O/S drain tap.

Both tensioners in position.

The pad-eye plates were fitted just in front of the lip.
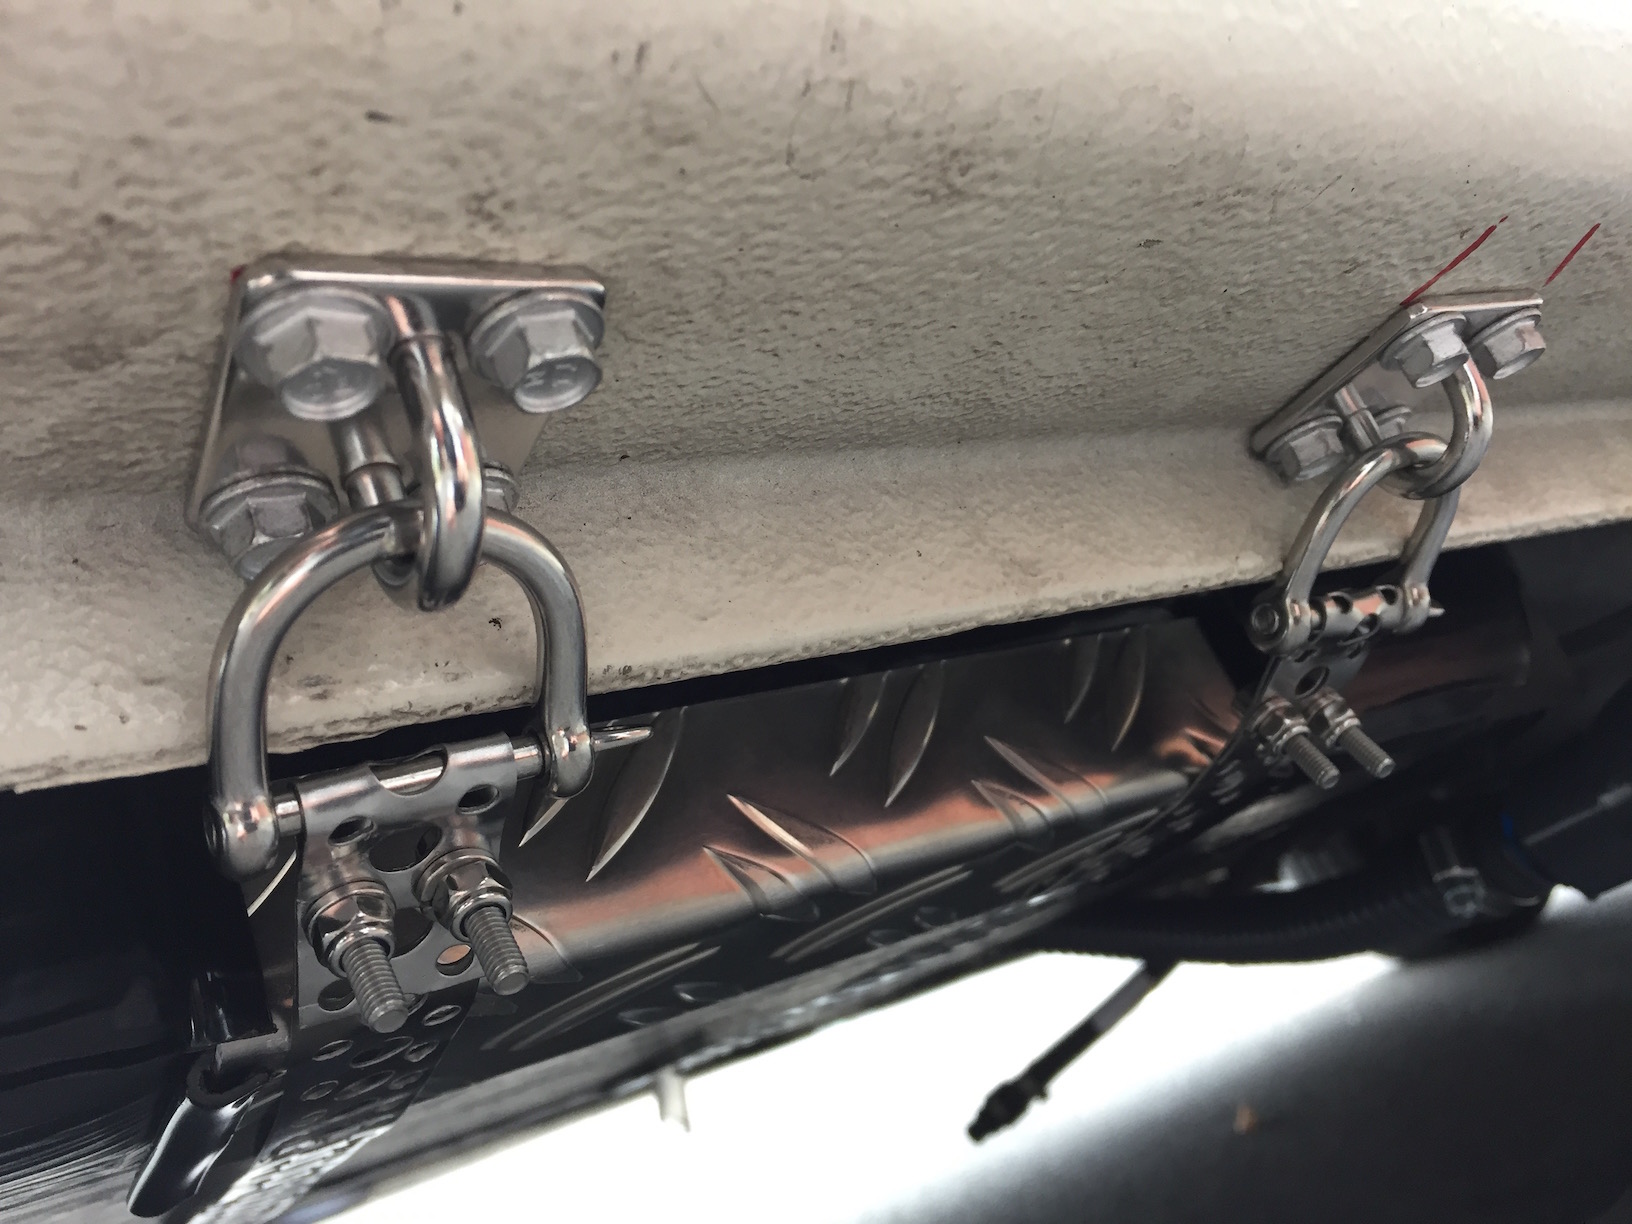
They rub on the lip, but there was no way around that, apart from perhaps generous amount of anti-rust agent when it does start to rust.
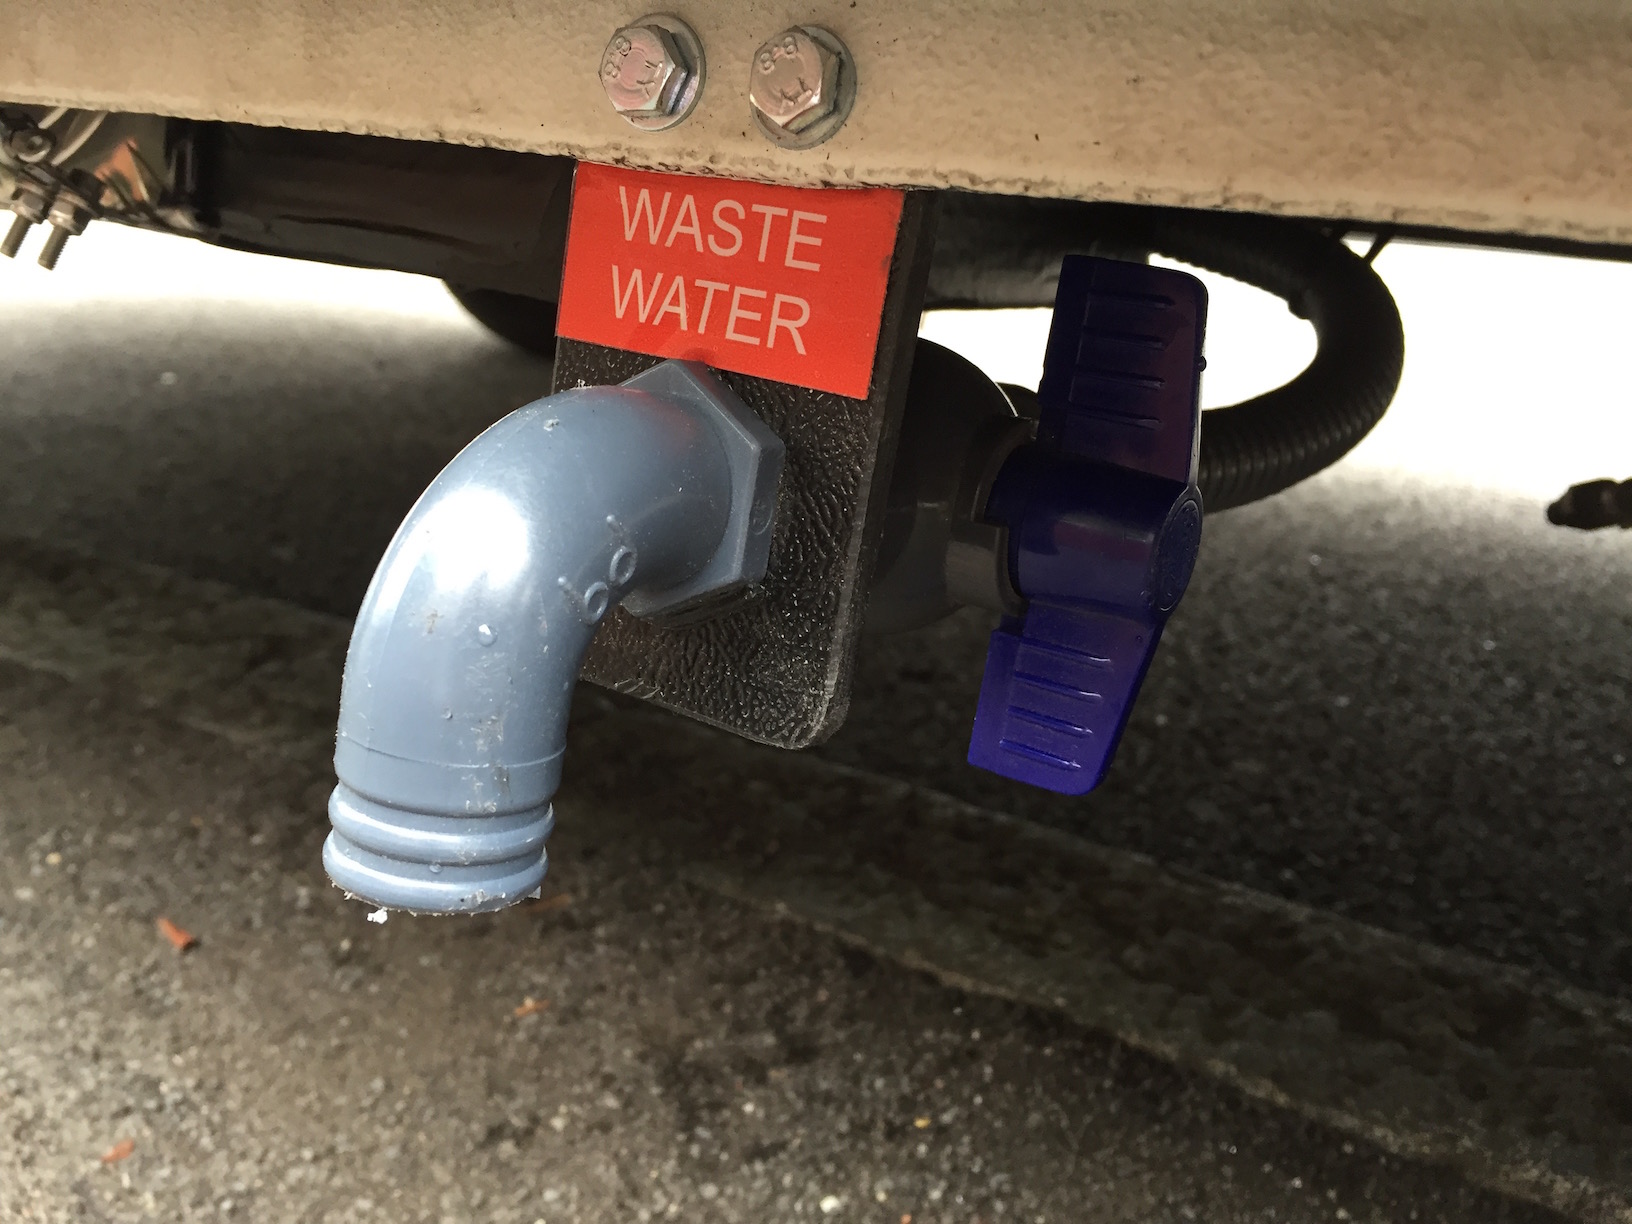
Finally the waste drain tap, fitted to the lip, just like the fresh water cousin.
Gauges
I ordered the tanks with the standard CBE MT214/M-Kit Fresh / Waste Water Level Kit, which Shaun supplied and fitted.
I cut the supplied cable in order to make it all fit inside the conduits and extended it using four-core alarm cable, which has each conductor size of approximately 0.25mm2. This fit into a 10mm un-split convoluted sleeving, which I routed under the van and fixed in place using either cable ties (to existing pipe work) or 10mm stainless steel P-clips. I reconnected all the cables using a mixture of soldering, crimp joins and heat-shrink tubing.
I fixed the gauge onto the rear pillar blank, just like I did with the 230VAC sockets.
The tank level indicator shows how much water is in the tank when the button is pressed.

The waste indicator lights up when the waste tank is full.

All fairly simple in theory, although my tests so far have shown that the waste level doesn't light up until the waste tank has already started overflowing and the fresh water level doesn't stay green for very long at all. Perhaps this is due to the van being parked on an incline..
Tank Heaters
Since the tanks are insulated, I thought it would be a good idea to add a defrost element to each, in the event we are camping in winter. We'll find out exactly how effective our setup is in due course.
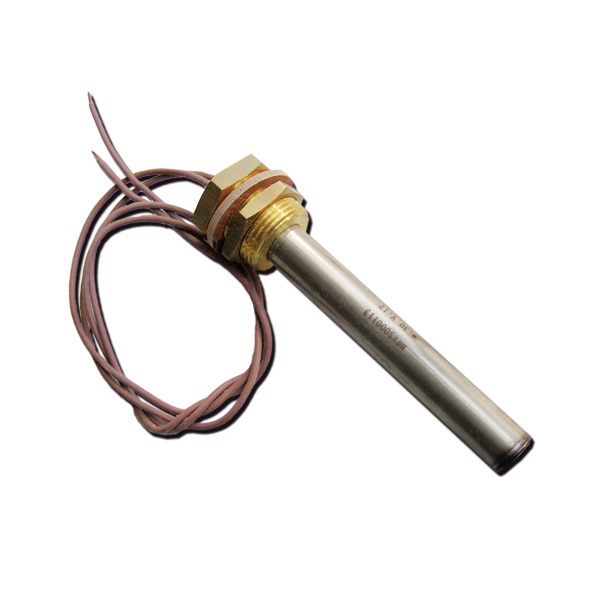
Shaun installed a DFE-01 - Manual Switch Defrost Element into each tank, which looks like this.
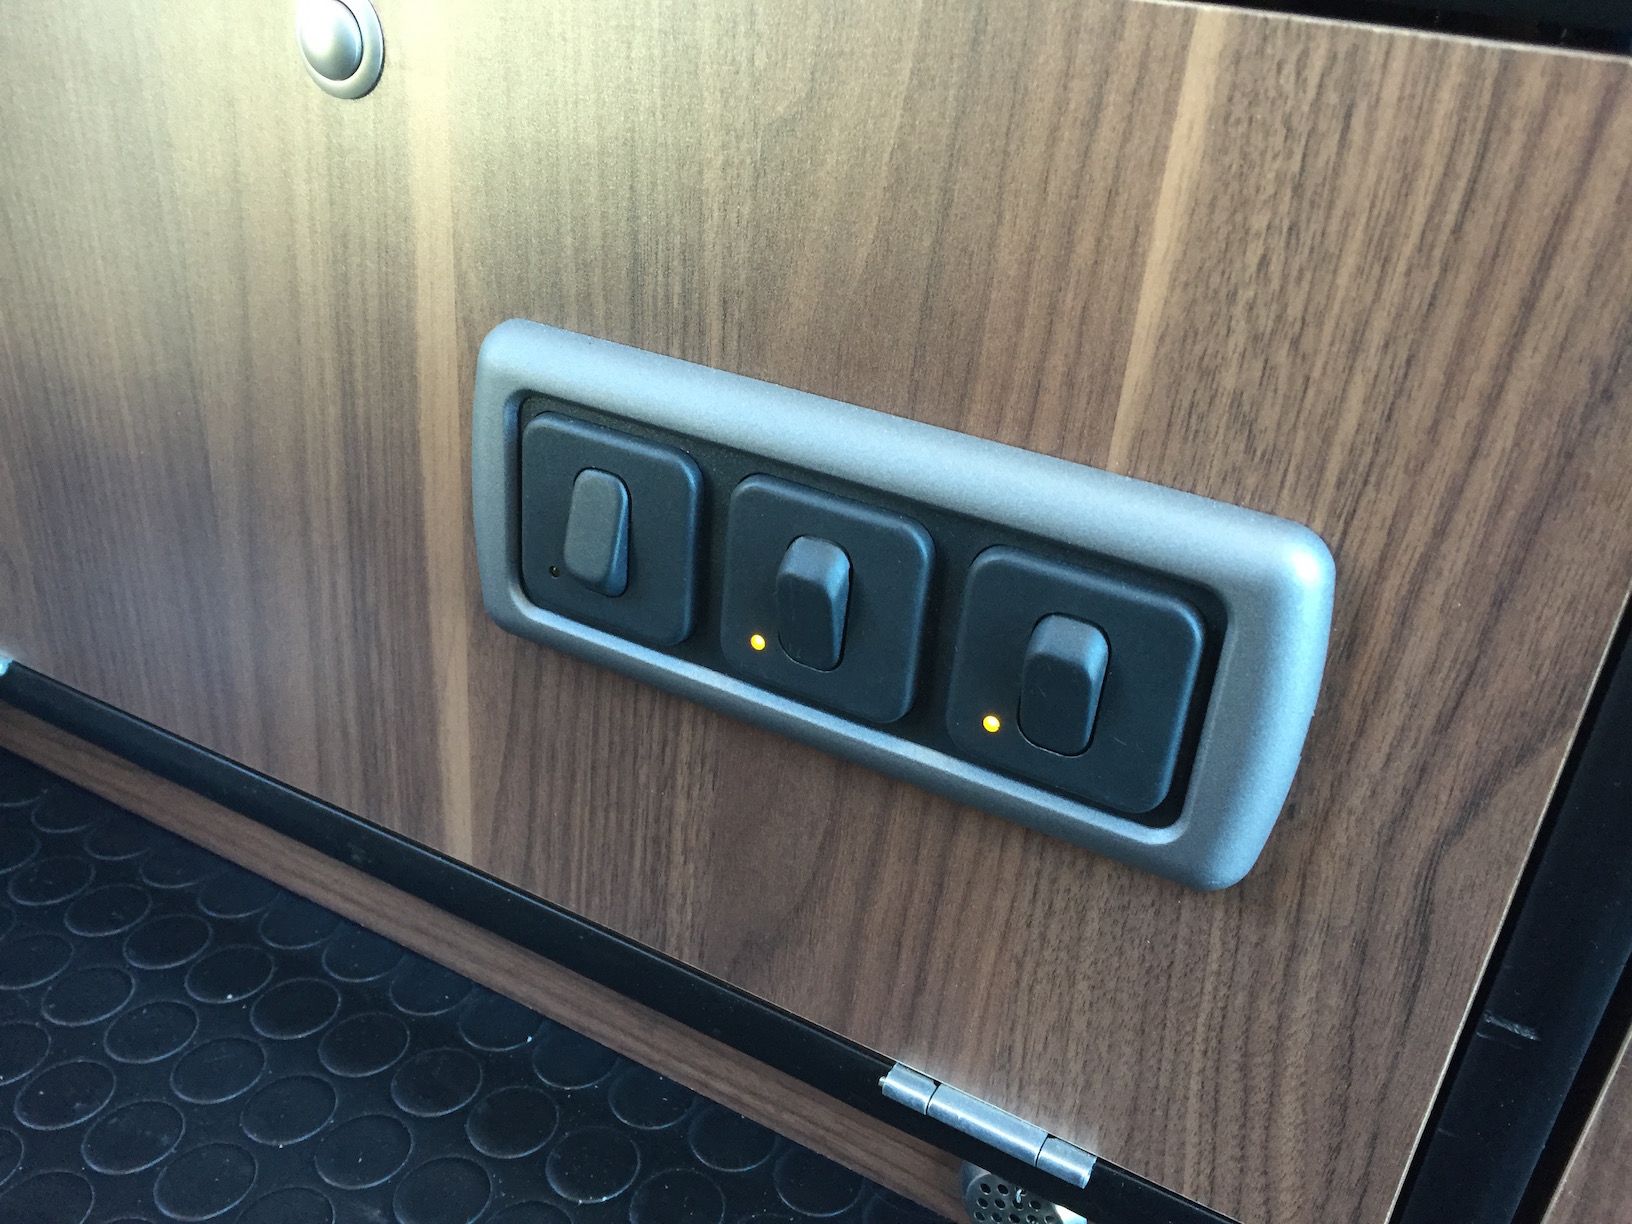
The switches for the elements are located on the front of the utility closet, next to the pump switch. The tank heaters are the two switches on the right.
Plumbing
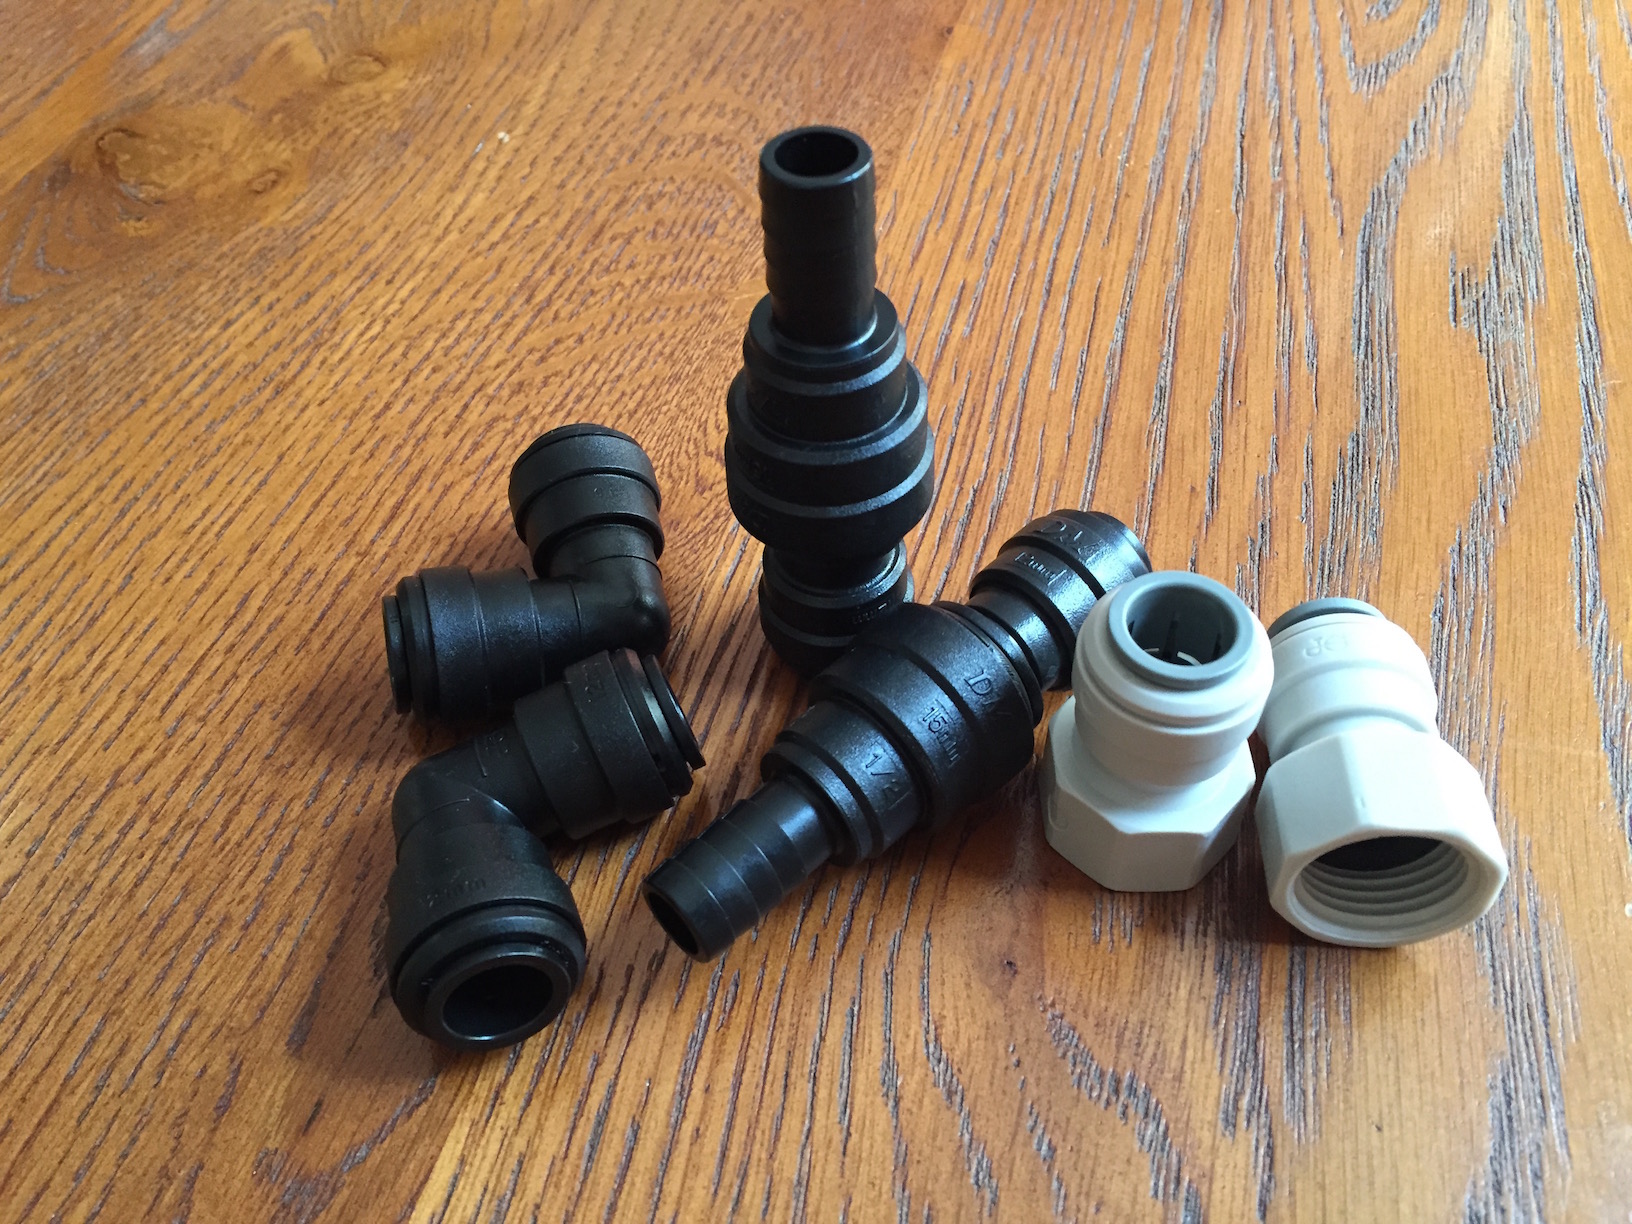
For running water, I used 12mm semi-rigid pipe and various push-fit adapters for taking the water from the fresh water tank to the pump and all the way to the boiler and water filter. After the water filter and boiler, I used a length of flexible 15mm hose to connect to the water taps.
For waste water, I used 20mm flexible corrugated grey waste hose with a smooth bore. Shaun from Barratt Tanks provided a length with the tanks for the drain tap connection and I bought another 3m length from C.A.K. Tanks to connect the sink to the waste trap and then to the waste water tank through a hole in the floor. I originally had a M32 cable gland in this hole, but I replaced it with two 32mm rubber grommets (one inside and one outside) to allow the waste hose to bend more, since the laminated rear suspension spring/blade could in theory touch it if we fly over a big bump. I've sealed all around the grommets with black Sikaflex.

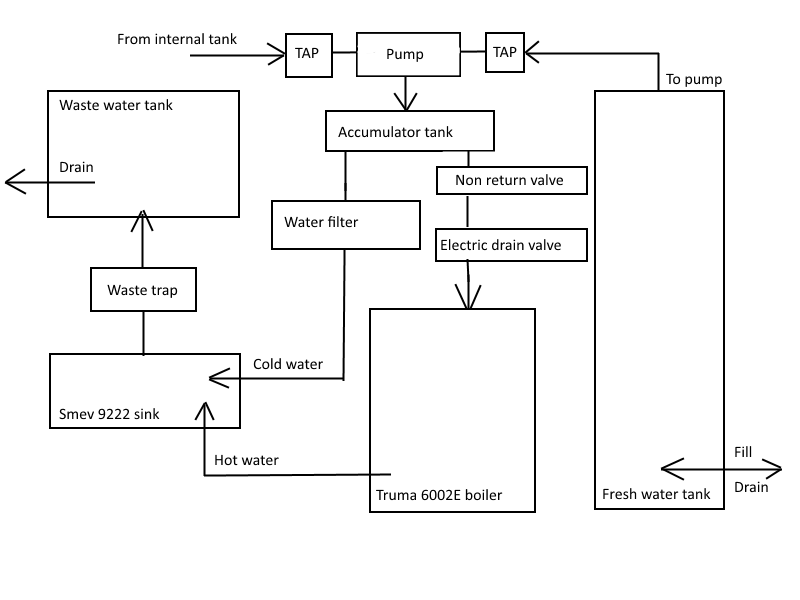
Schematically, the system looks like this.
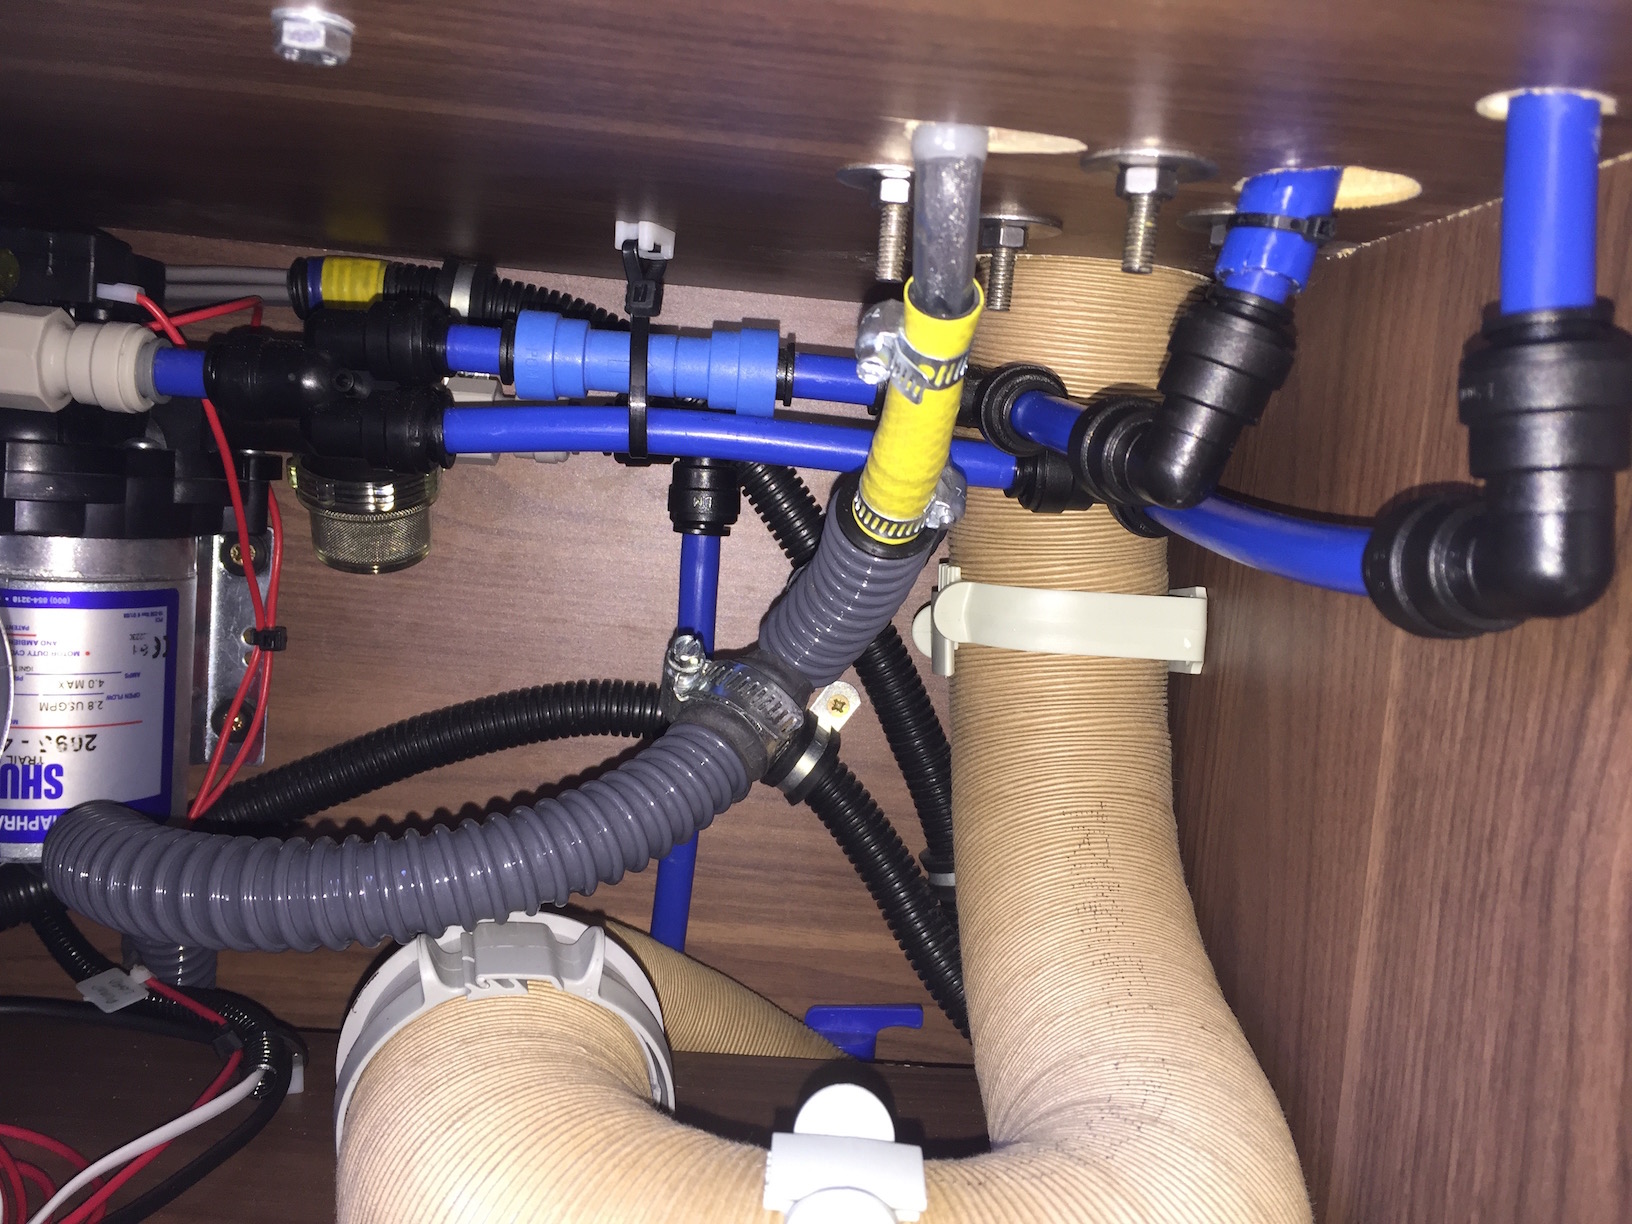
This is what it all looks like inside the utility closet.
The master tap for isolating the main fresh water tank is the first one in line from the fresh water tank.

I also put in an extra tap to allow connection of an internal tank, should the one outside freeze and/or fall off. This small tank could go under the bed, taking over some storage space.

Water Pump
The water pump is a SHURflo Trailking 10 from Rainbow Conversions with an in-line strainer (BSP fittings). This is a 12v pump, delivering 10 litres per minute at 30 PSI.

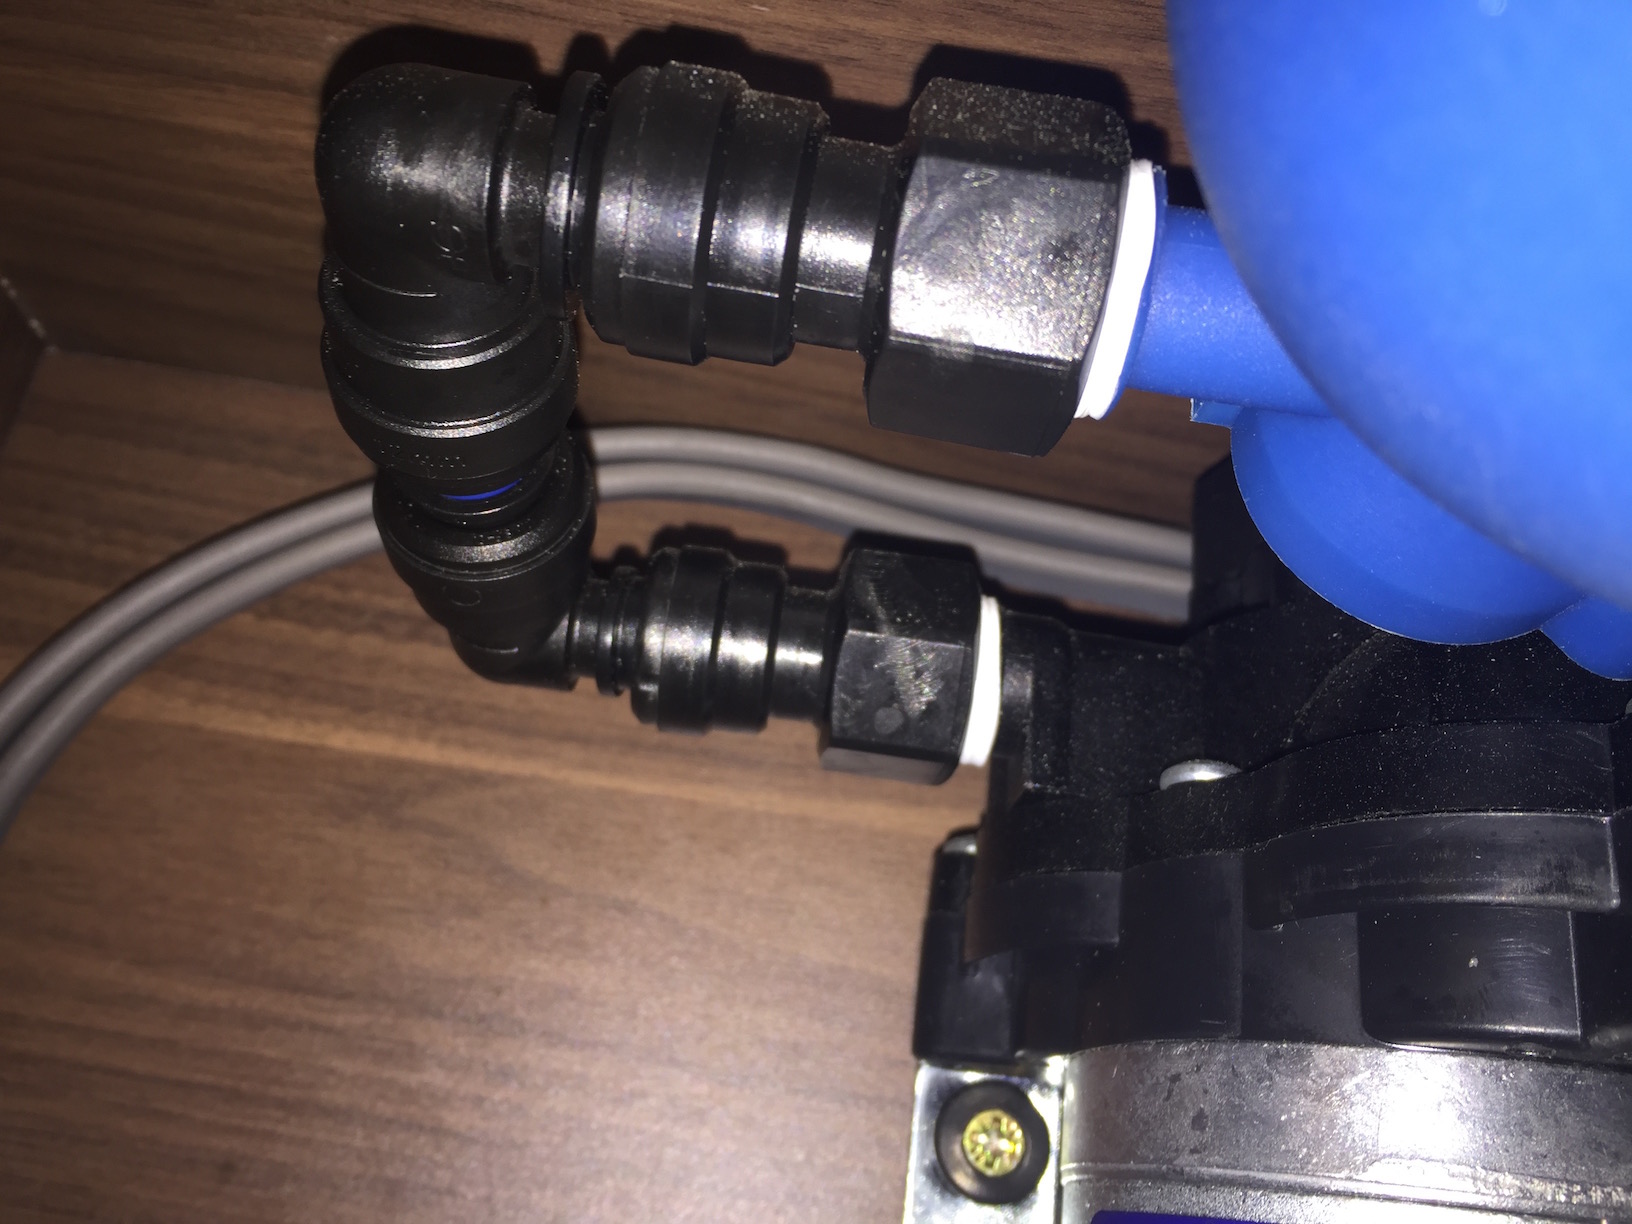
The manual instructs not to use quick-fit fittings on the pump connections due to vibration.. The pump manual also says to mount the pump with the electrical pressure switch facing down, so that in the event of the leak, the motor is not flooded. Having read the manual after the installation, my setup uses push-fit connections and the pump is mounted with the switch facing up. Oh well..
The pump switch is mounted in the cluster on the front of the utility closet cover.

Accumulator Tank
I fit a Fiamma A20 Accumulator/Expansion Tank between the pump outlet and the rest of the system.

Since the pump pressure switch is configured to cut-out at 30 PSI, I figured the cut-in pressure should be somewhere around half of that, so I pressurised the tank with a track pump to 15 PSI. This seems to work work well, with the pump turning on and off periodically as the tap is running.
Water Filter
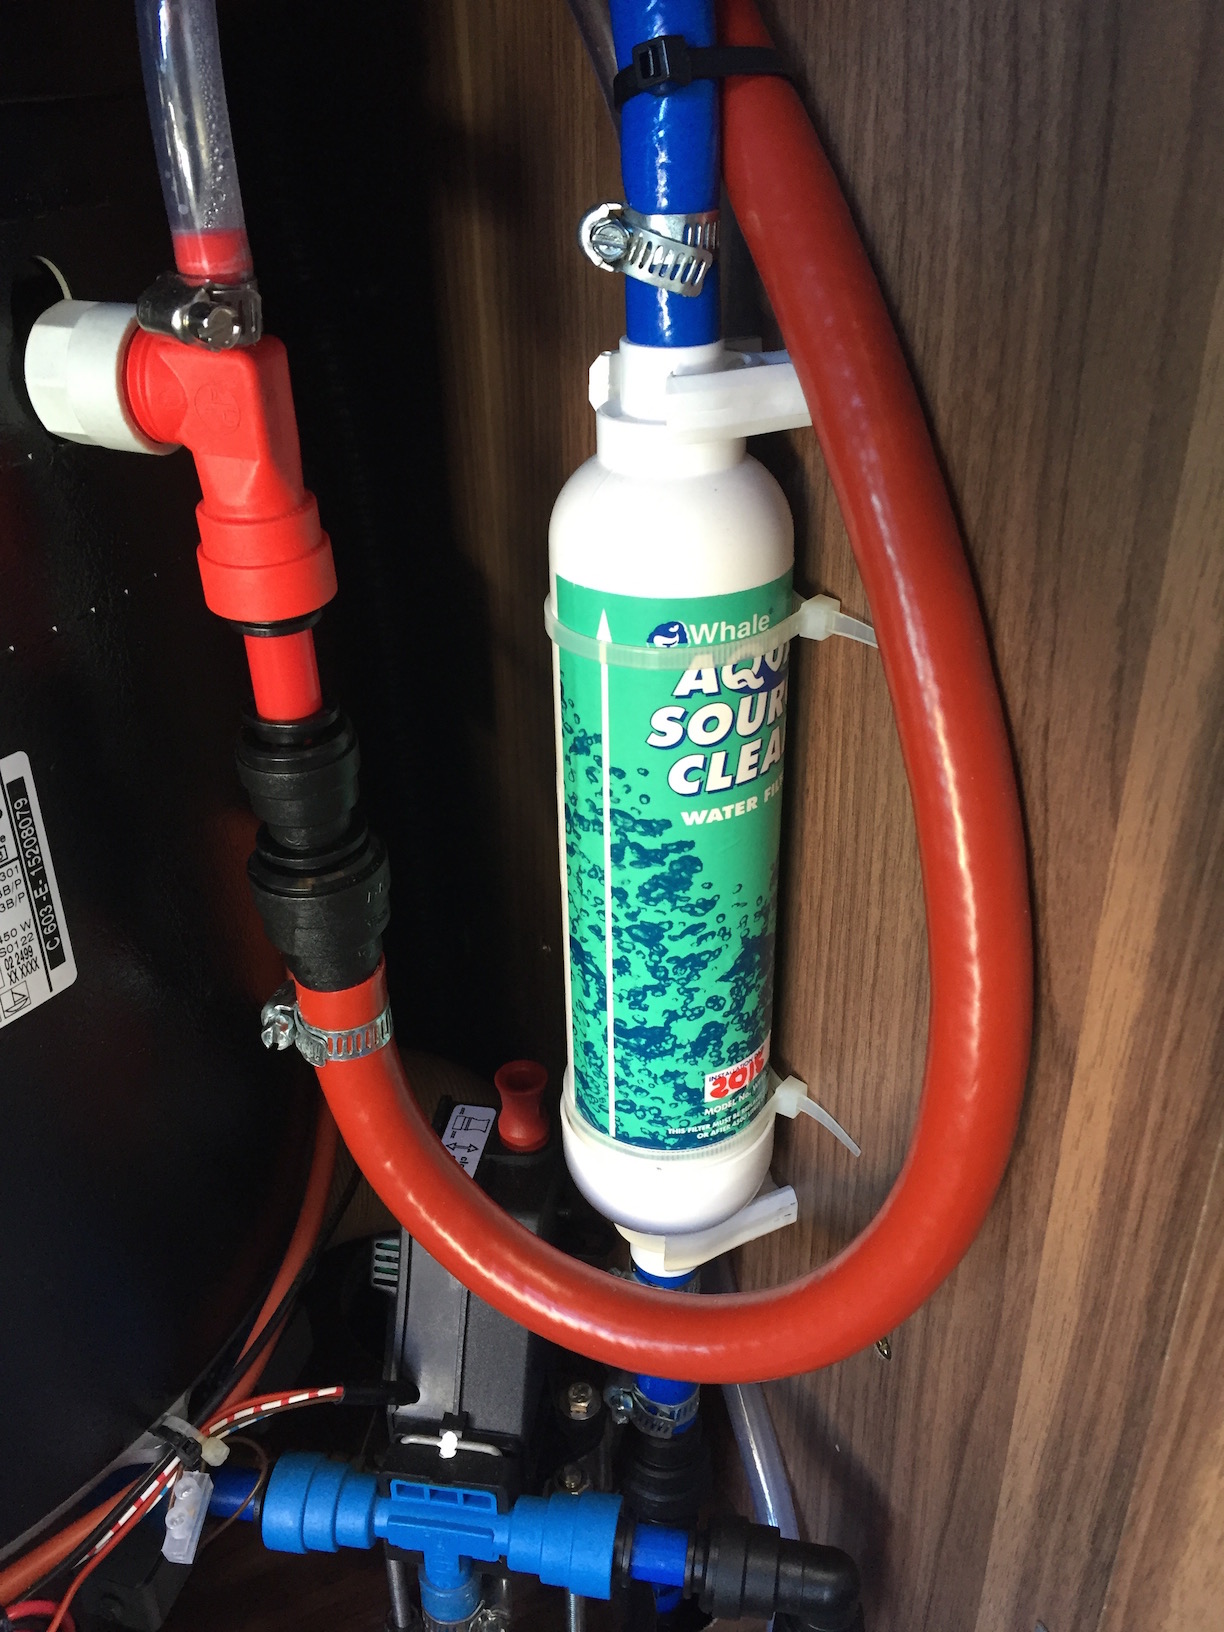
The water filter is a standard Whale AquaSource Clear WF1530 model, which bolts onto the wall using a pair of supplied clips. I used 12mm quick-fit to 15mm hose barb adapter and a short length of hose to terminate the semi-rigid pipe on the water filter.
Appliances
We have two appliances connected to the water supply:
Truma Trumatic C 6002Eheater/boilerSmev 9222sink/hob
Boiler and Drain Valve
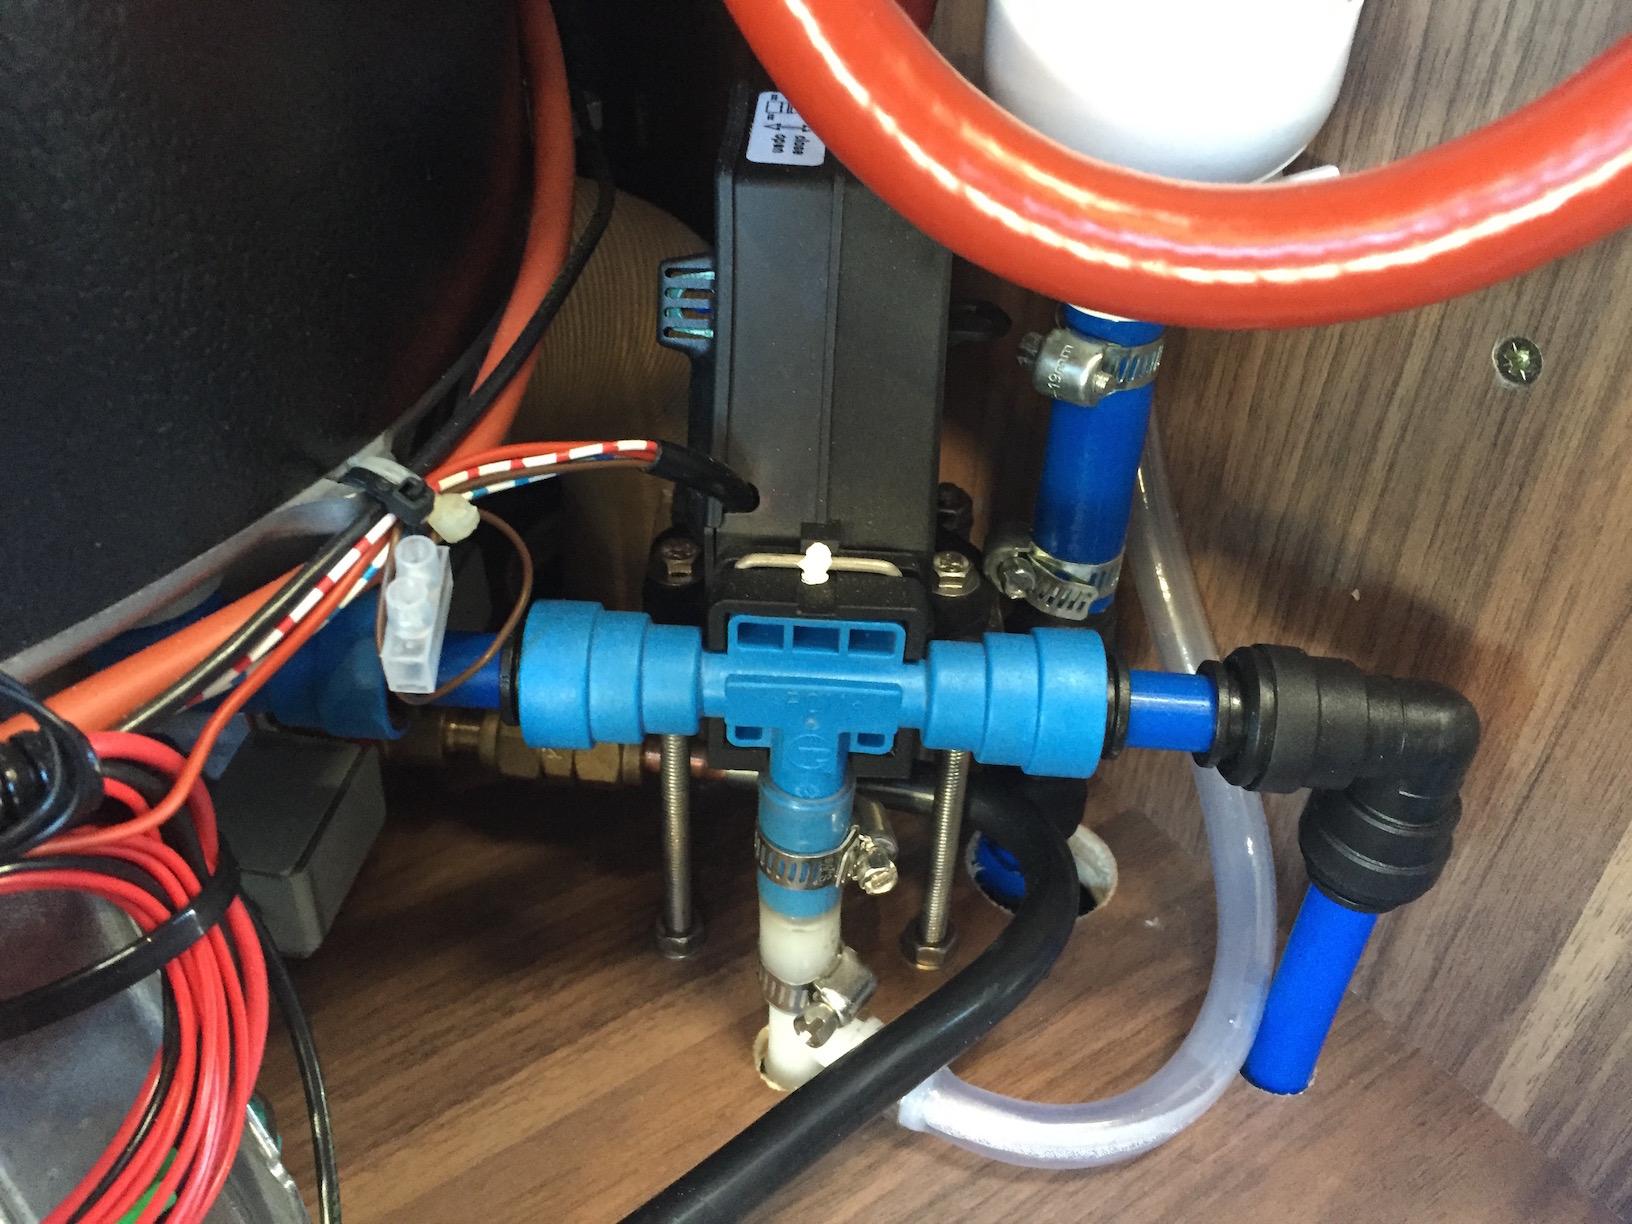
The boiler takes a cold water supply from the accumulator tank (via a Truma non-return valve), which goes via a electric drain valve. The drain valve is connected to a 12v supply. If the supply is ever cut, or the temperature inside the drain valve drops below freezing, the drain valve opens and drains all the water from the boiler. To save making even more holes in the van body, I've connected all of the boiler drains into the main sink drain via a couple of plastic T-adapters.
There wasn't a lot of room in the boiler closet, so I had to make a seat for the drain valve, in order to elevate it in the right location. this was done using some M6 threaded rod and a 5mm perspex sheet.

Sink and Waste Trap
Also from C.A.K Tanks, I bought a WD1425G 28mm in-line waste trap and a pair of WD1424 reducers to adapt it for the 20mm hose.
I made a seat from the trap using some M6 thread rod, 25mm bar saddles from Screwfix and M6 x 13mm hex drive screw-in threaded inserts for wood (Type D) from eBay.


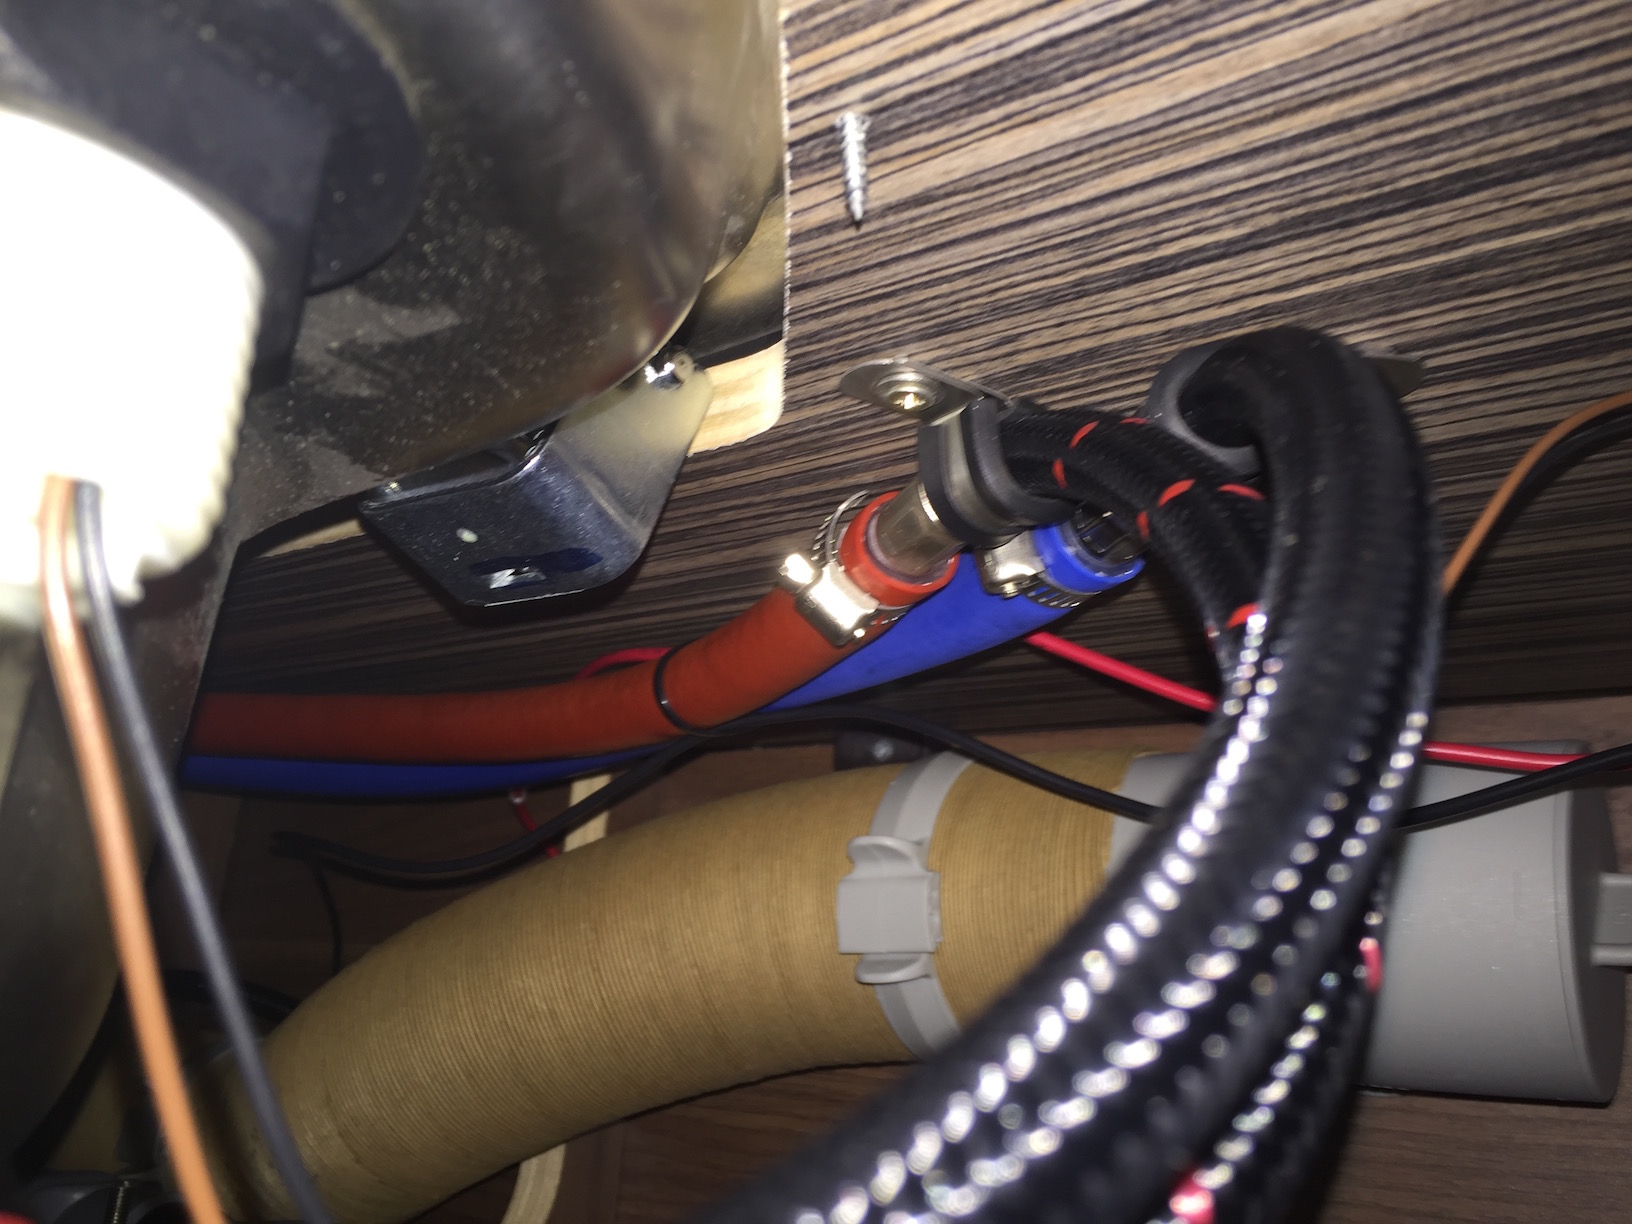
Both hot and cold water lines to the tap are connected using hose clamps.
Now that we have running hot and cold water, it's time for morning tea..


Coming up Next..
Roof bars, curtains and awning..
